Task Set 9: Other Blackboard Tools
Blackboard has much more than the basic tools you have learned so far, but if you are feeling a bit overwhelmed, or are simply ready to get started, then you already have most of the tools you need to be successful and you can skip Steps #1-#6 and move on to Step #7 in this Task Set. The goal of Task Set #9 is to introduce instructors to a few additional assignment tools and to help instructors master finding students in the Retention Center and Performance Dashboard.
Things to do:
- In order to explore additional Blackboard tools, you are going to need to be logged in to one of your Blackboard classes. Do that now.
- If your class is live and you want to play around without students seeing what you
are doing, go to your "Course Materials" area, and create a new Content Folder just
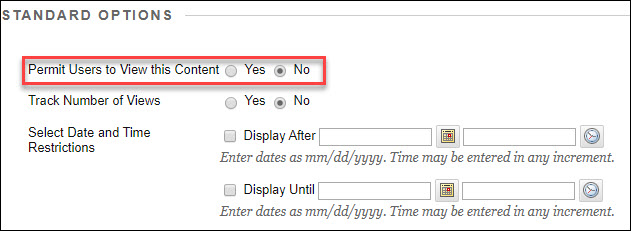
like you did in Task Set 4, steps #3 and #4. This time, however, before you click
"Submit" you need to find the setting that says "Permit Users to View this Content"
and choose "No." Now anything you put inside this Content Folder will be hidden from
your students. NOTE: if you set up assignments in this folder, they will still show
up in your students' "My Grades" area, so please do not create assignments in hidden
folders.
- Enter the folder you just created by clicking on its title.
- First, we are going to investigate the "Blogs" and "Journals" tools. These tools have
limited utility, but they work well and you may decide they are useful in your class.
You can set up Blogs and Journals a few ways, but the easiest is to start in the folder
where you want the blog or journal assignment to show for your students. Blogs and
Journals are essentially identical in Blackboard with one important difference: Blogs
default to allowing anyone in the class to see the postings. Journals default to only
allowing the student who created the joural and the professor to see the postings.
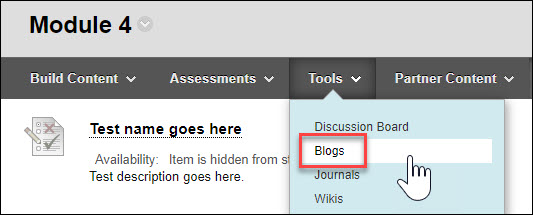
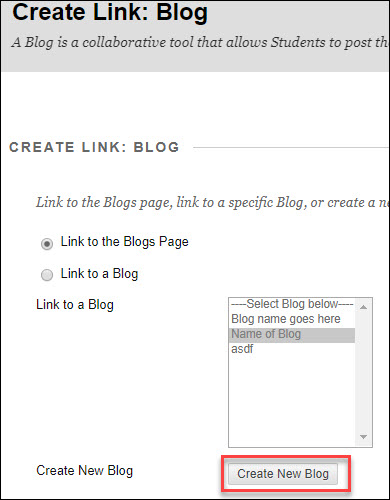
To set up a Blog, mouse over the "Tools" link in the ribbon menu and choose "Blogs"
and click the button that reads "Create a new Blog." Give the blog a name and instructions,
leave the other settings in their defaults, assign points to it if you want the blog
to be an assignment (please do not do that for this practice Blog setup), and click
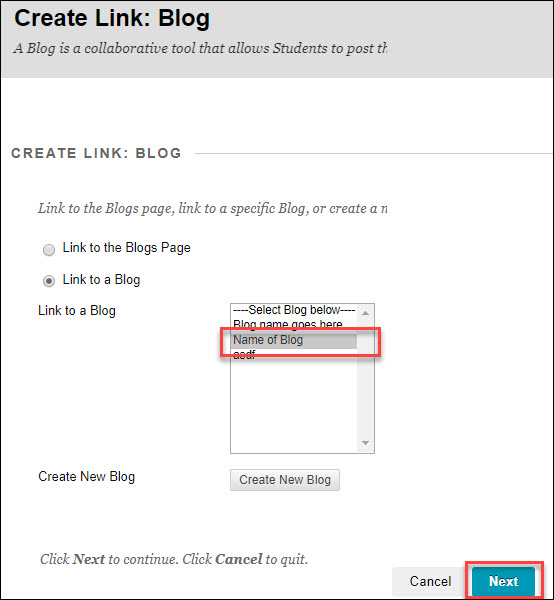
"Submit." You will be taken back to the screen called "Create Link: Blog" where you
need to click on the title of the Blog you just created and then click "Next." This
takes you to another page where you will create the information your students will
see in the link to the blog assignment. This seems cumbersome, but all you need to
do is provide any instructions, such as how many postings you are expecting, in the
"Text" area. Once you are finished, click "Submit." The "Journal" tool works exactly
the same, except you choose "Journals" instead of "Blogs." Many instructors seem to
have good experiences with these two tools, but due to their cumbersome setup and
similarity to the Discussion Board and Assignments tools, OIR does not generally suggest
their use.
- Next, we will take a quick look at the "Wiki" tool. You will set up a Wiki in the same way that you set up a Blog in Setp #4 above, leaving the settings in their default positions. What you get once you set up a Wiki is a course area that functions a little like a Google Doc. All your students can access the same document area and make changes. You can track those changes through time to see who did what, and you can also participate. The Wiki tool is an especially good way to create an online sign-up sheet for things like conferences or other meet-ups. It takes a little practice to get the feel of a Wiki, and OIR suggests that if you think you want to use it, jump in and give it a try. Professors who use the Wiki tool tend to report that they like it.
- While there are other tools you might want to explore in Blackboard, be advised that the Blackboard Learn environment has links to many tools that no longer work. If OIR could remove these links, we would, but some things can't be removed. If you want to use a tool that has not been discussed in this training, please contact OIR at OIR@wichita.edu first, and we can tell you whether it is a functional tool before you begin.
- The other Blackboard tools you might be interested in are found in the "Course Management" area of your course. Remember, this is an area of the course that only you can see, and it is found below the regular course menu on the left of your screen. Please have a look there now.
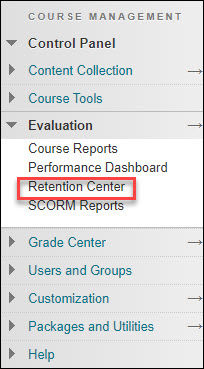
- The first tool to look at is found under the "Evaluation" area. It is called "Performance
Dashboard." Click that now.
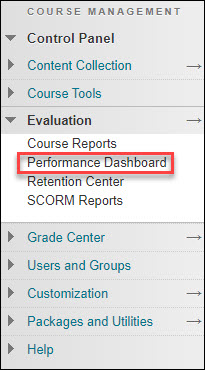
- The Blackboard "Performance Dashboard" gives you a snapshot look at all your enrolled students. From here you can see things like how many days it has been since your students logged in to your class, how many Discussion Board postings they have made, and what their grades are. This tool is very helpful if you receive a question about a student or if you are filling out a SEAS Report.
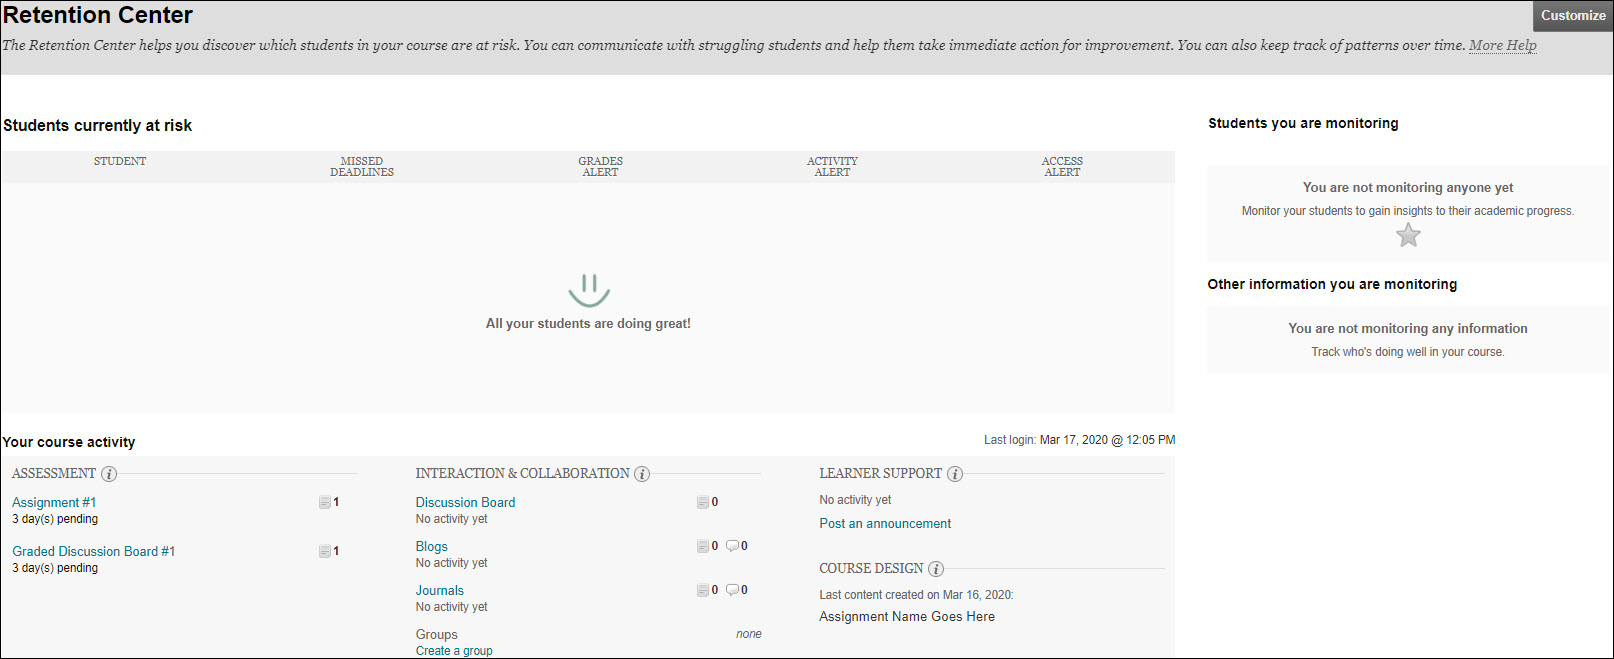
- Much like the Performance Dashboard, the Retention Center allows professors an at-a-glance
view of their students', and their own, activity in the course. Take a moment to investigate
the Retention Center. You will probably find you prefer either the Performance Dashboard
or the Retention Center more, and they each provide similar information but in different
layouts.