Microsoft Education
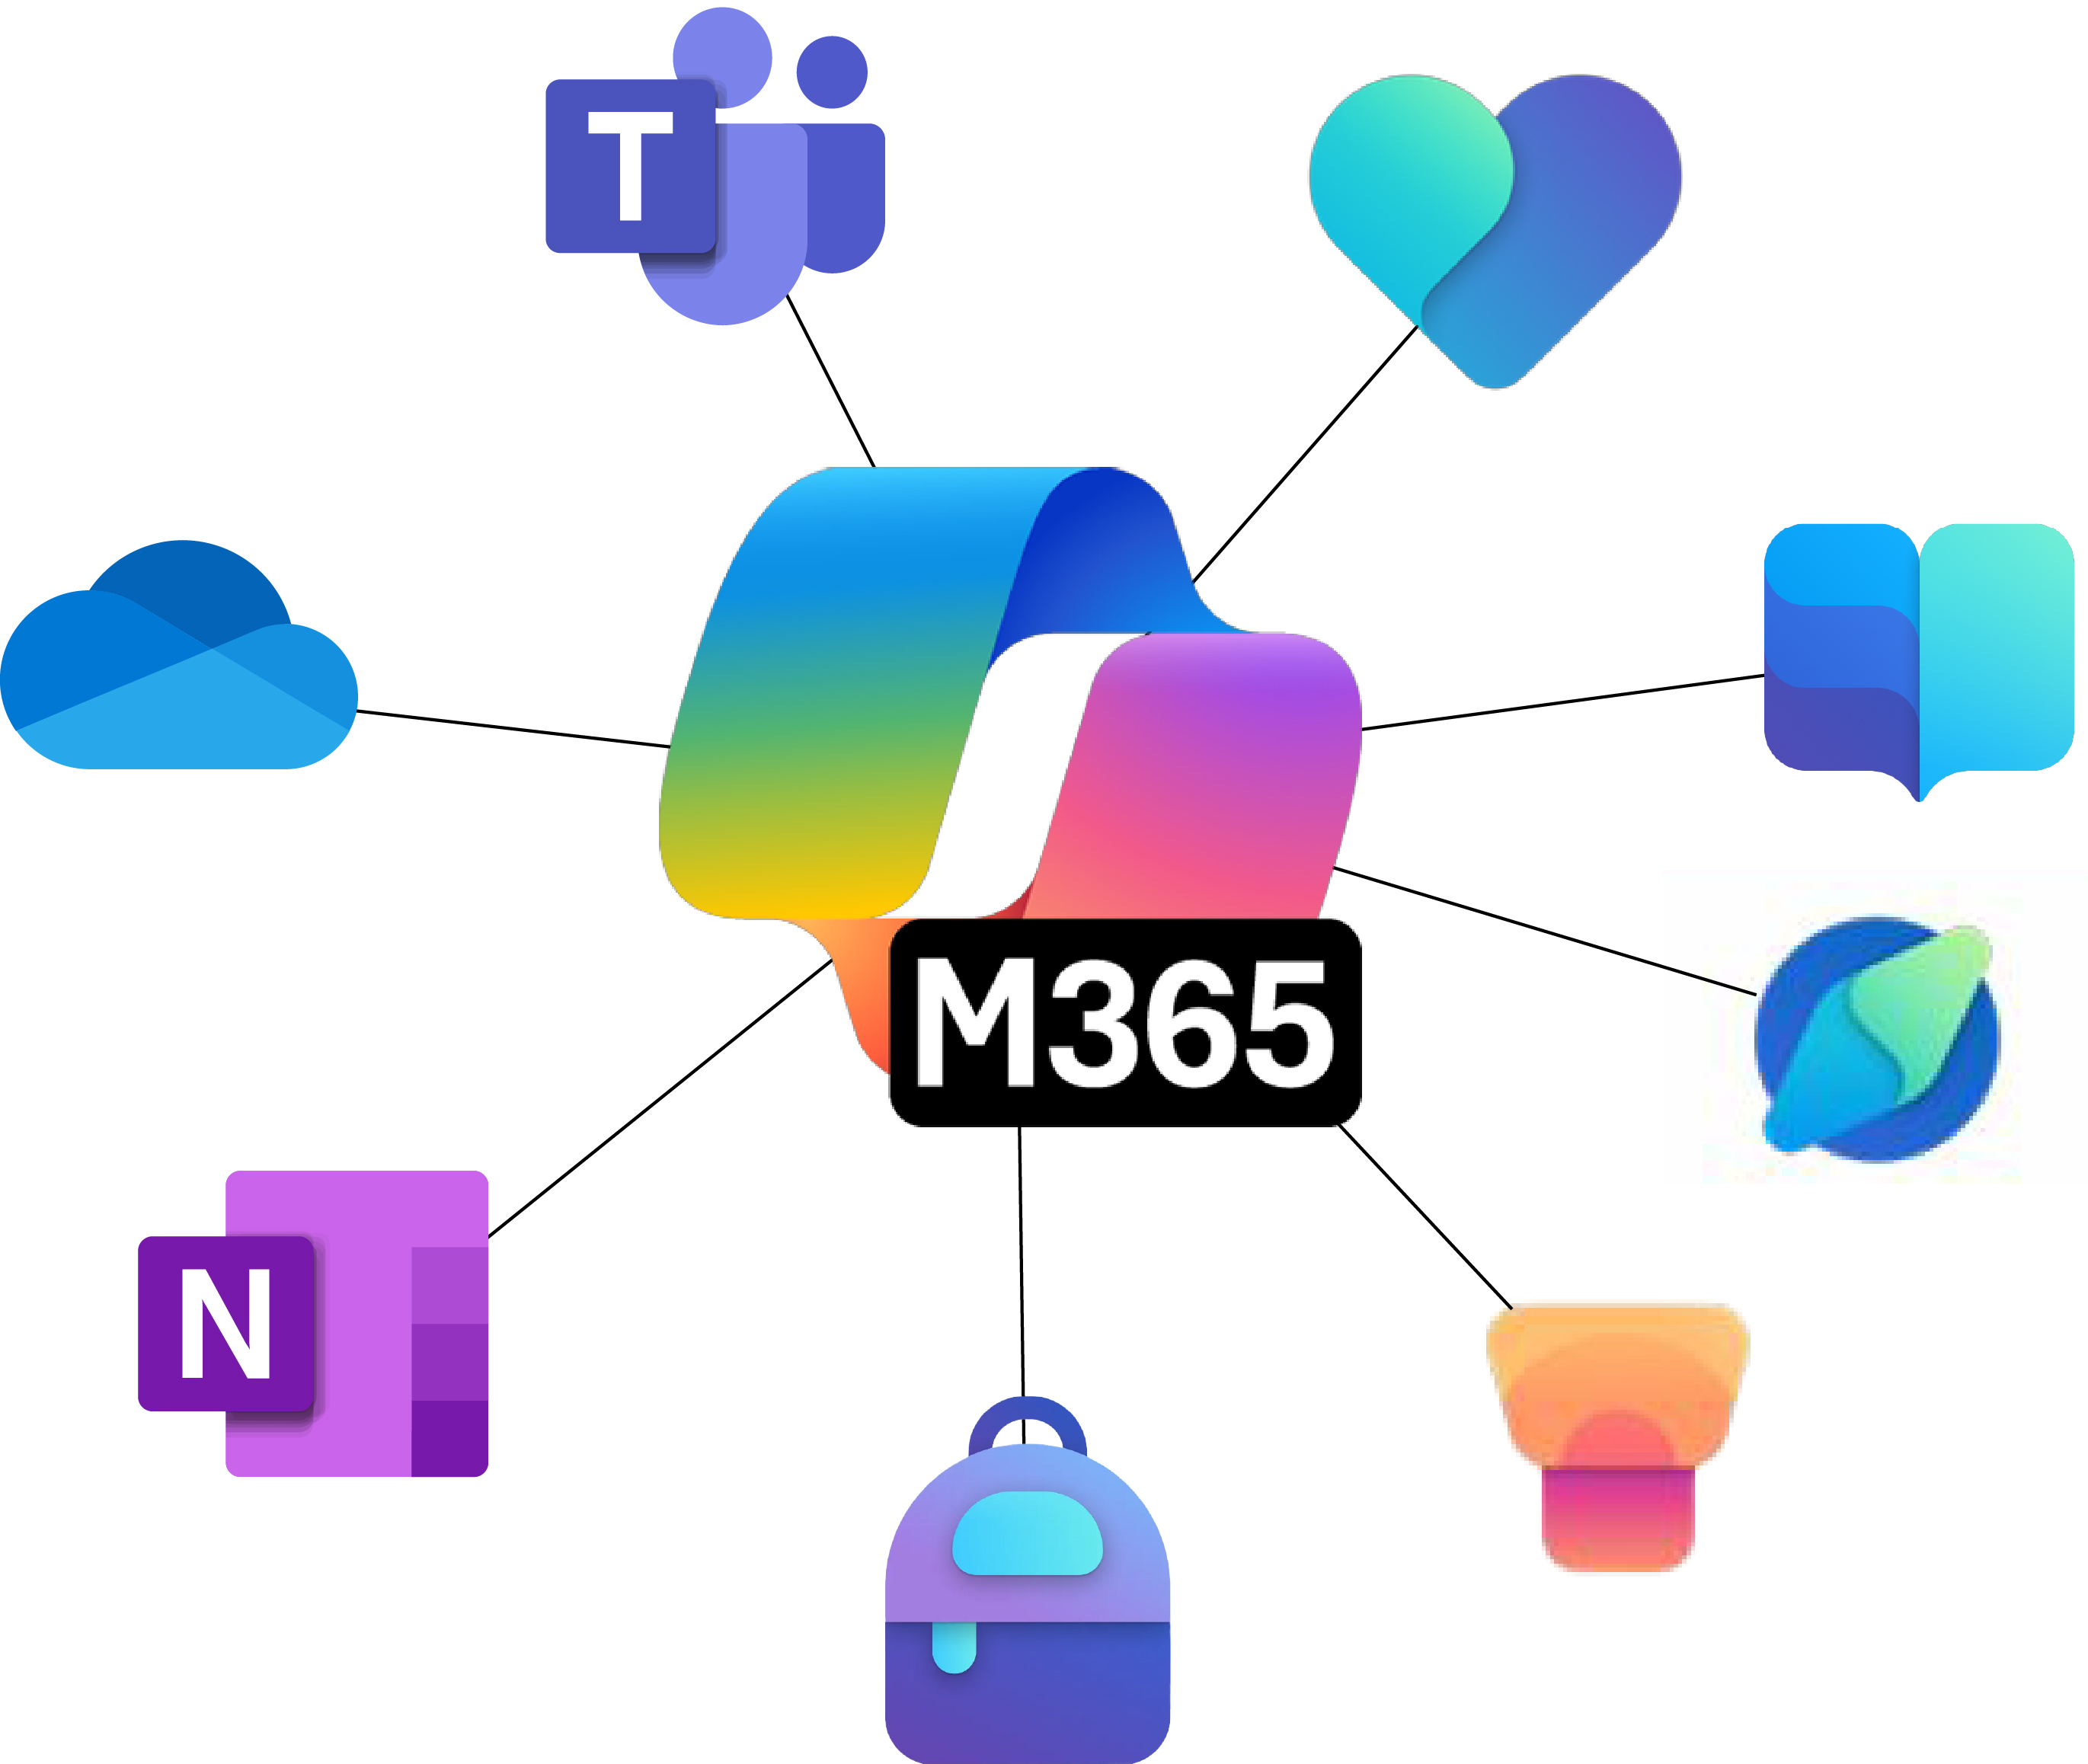
Microsoft Education offers a comprehensive suite of digital learning tools and services that integrate seamlessly withBlackboard to enhance teaching and learning experiences. Through the Microsoft 365 integration, faculty can access powerful collaboration tools, assignment creation capabilities, and AI-enhanced learning accelerators directly within their Blackboard courses.
The platform includes tools for real-time collaboration, video meetings, file sharing, AI-powered assignments, and learning accelerators. These tools were designed to create more engaging, personalized learning experiences without requiring students or faculty to leave the Blackboard environment.
Use the tool to bring Microsoft's educational technology directly into your existing course structure, making it easier to collaborate with students, create interactive assignments, and track learning progress.
Getting Started
To begin using any Microsoft Education tools in Blackboard, you must first enable it in your course.
- Go into your Blackboard Course
- On the Details and Actions pane on the right side of your course, find Books & Tools. Select View Course & Institutional Tools. Locate Microsoft Education. If you would like to add a link to the tool in your Course content area, select the
plus sign at the left side of the tool. To open it only, click on the name of the
tool.
- The first time you open the tool in each class, you will have the opportunity to learn
more about the various tools available. When you are ready, choose Continue setup.
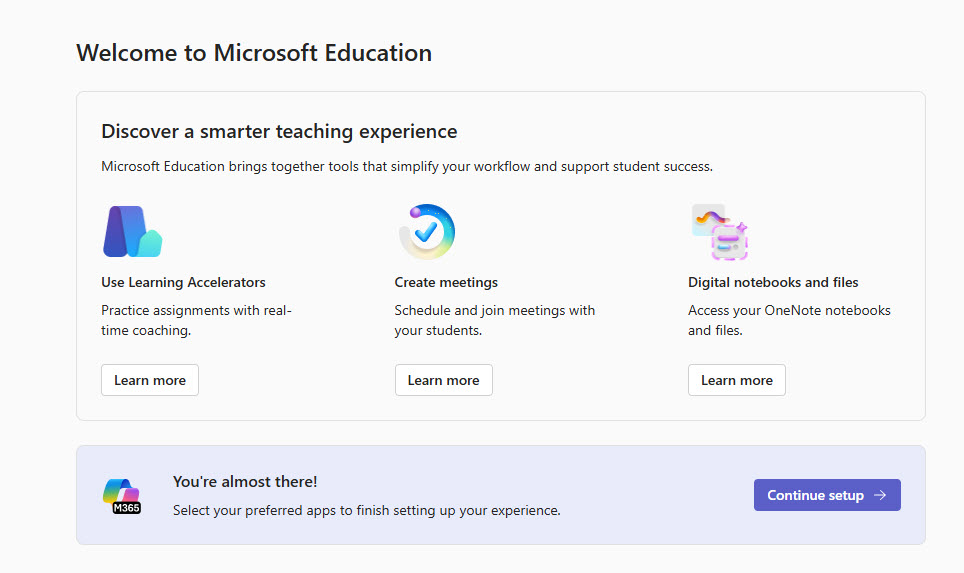
What happens in the background when you choose "Continue setup?"
When you enable Microsoft Education, your course roster syncs with all of the Microsoft tools. This makes it so that everyone in your course has access to the tools you use. Creating a Teams meeting? You can invite all (or any) of your students. Using a Class Notebook? Each student in the course will automatically have their own folder.
Here's the bonus: Want to share a OneDrive file or a video in Blackboard but outside of the Microsoft Education tool? The sync mentioned above creates a Microsoft Group for your course. When you go to share a file, type the name of the class to find the group for all of the members of your class to have access.
Choosing Your Course Tools
After enabling Microsoft Education, you will see the course settings. Here you can Toggle tools on/off. When tools are toggled on, you and students will have access to them when they open Microsoft Education. Make sure to select "Done" to save your changes.
It is not necessary to create a Team for the class to use the other tools (Class Notebook, Teams Meetings, Assignments, etc).
NOTE: Toggling "Teams" on in the Application section does not create a Team for the class. If you want to create a Team for the class, Toggle on Add Microsoft Teams at the bottom of the page. It is not necessary to create a Team for the class to use the other tools (Class Notebook, Teams Meetings, Assignments, etc).
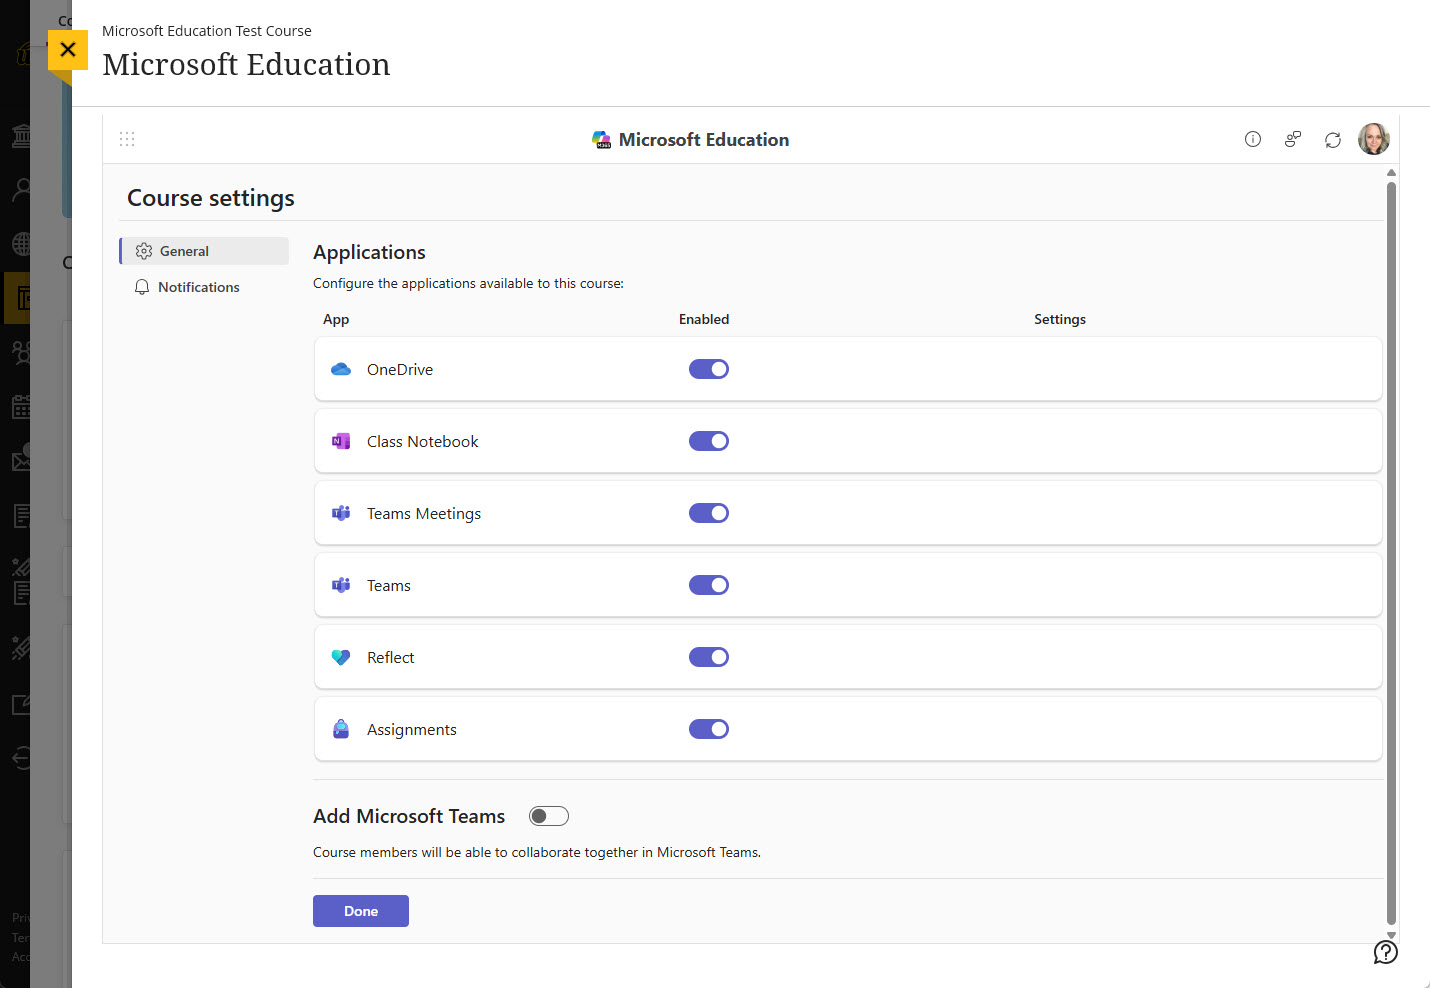
After you have completed this set up, you and your students will see the tools you selected. You can always access these settings by selecting the circle in the top right and choosing "Course Settings.
