Creating a New Special Topic/Lettered Course
This is for when you want to propose a brand new special topic course under an approved root course.
Accessing the Dashboard
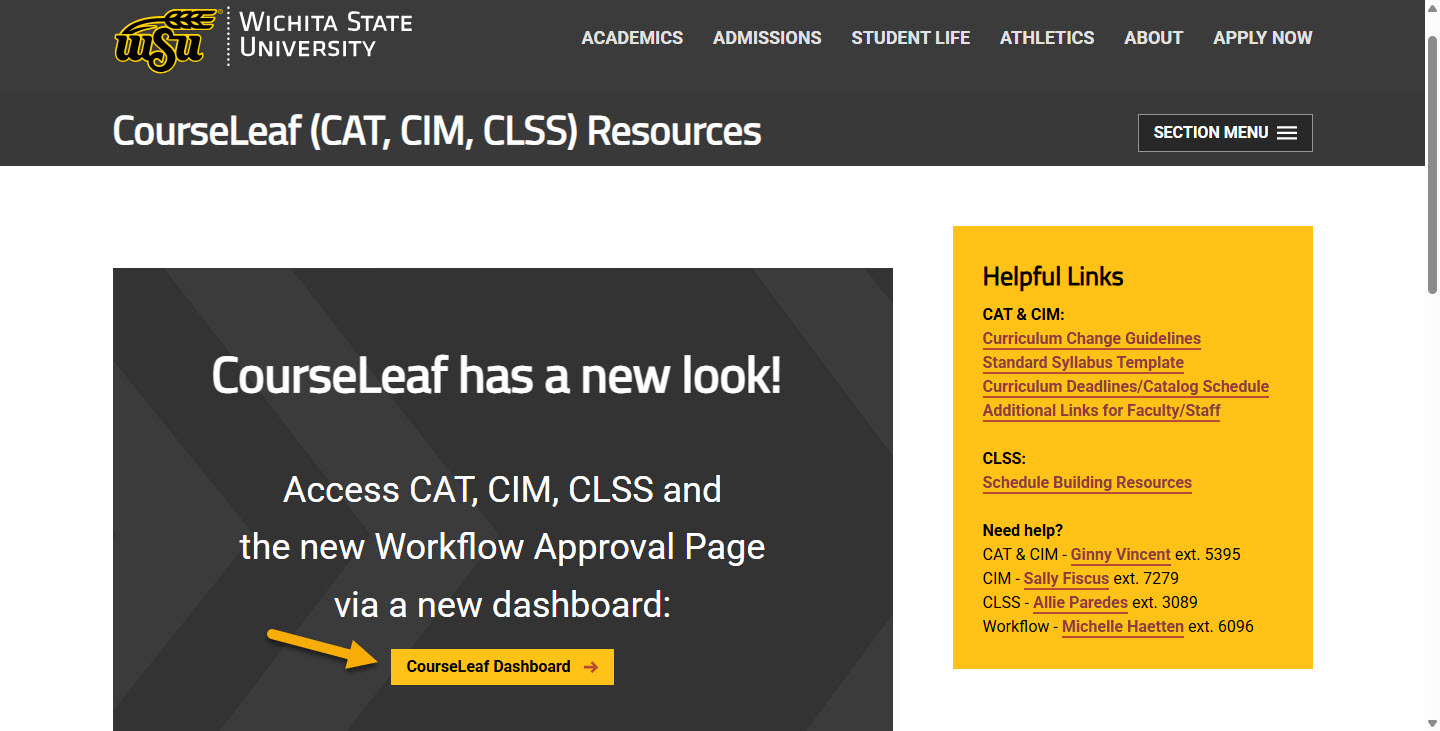
Using any web browser except Internet Explorer, go to the CourseLeaf (CAT, CIM, CLSS) Resources page (https://wichita.edu/courseleaf) and click the gold CourseLeaf Dashboard button link:
Accessing Course Inventory Management
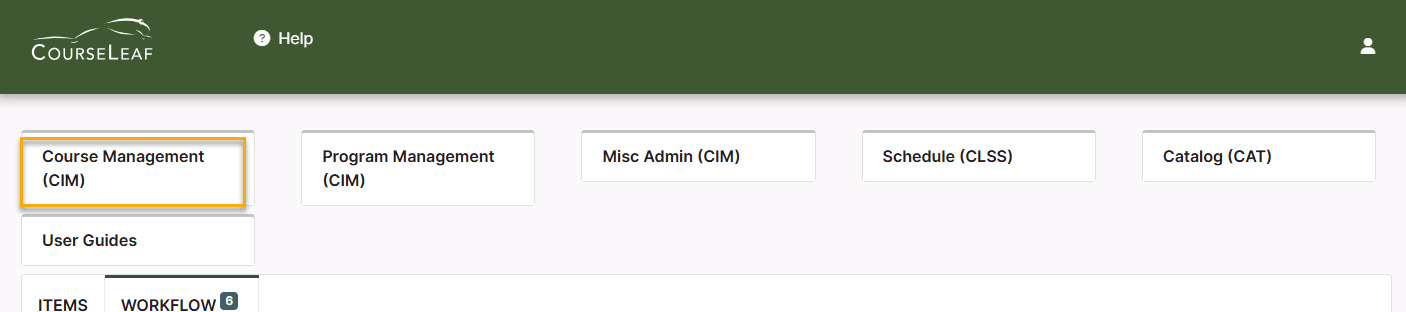
Once in the Dashboard, click on the Course Management (CIM) Module Card to be taken to the Course Inventory Management system.
Creating a New Course and Cross-Listed Course Steps
Step 1: Opening New Proposal Form
In the Course Inventory Management system, click on the green Propose New Course button:
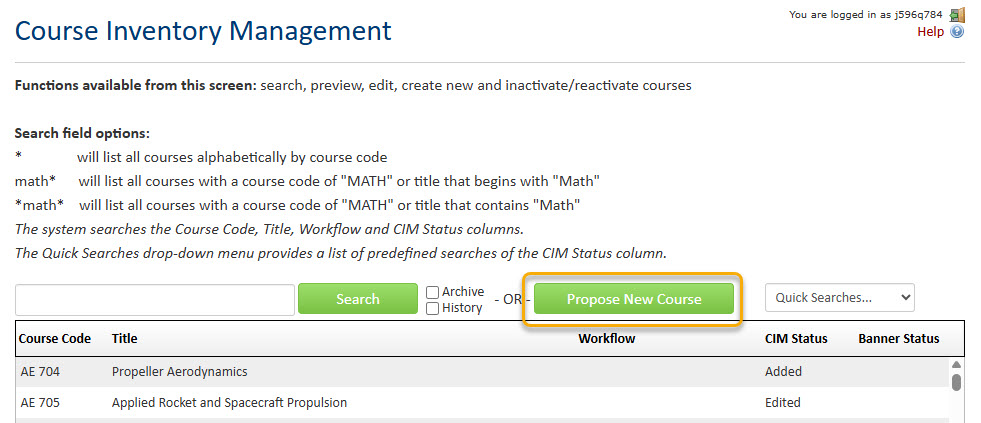
A new course proposal form will open.
Step 2: Contact and Action Information
Fill out the contact information with the faculty member that can answer questions about this course. (Administrative assistants may be the one creating the proposal but the faculty member that requested this should be listed as the contact person.)
Check the New Letter under Approved Root Course option under applicable actions:

If a Root Course does not yet exist for the Letter course you are wanting to create, then a Root Course will need to be created in CIM and sent through workflow on a separate proposal. Follow the same steps as Creating a New Course but select 'NEW Root Course' instead of 'NEW course'.
Helpful Information as you move through the form:
- Answers provided on this form affect the electronic workflow approval process. For example, checking the box for ‘New Course’ starts a different workflow than checking the box for ‘New Letter under Approved Root Course’. In addition, the workflow is constantly changing as you specify/change information. For example, selecting ‘Yes’ for ‘Does this course have a service-learning component’ adds the Service-Learning Coordinator to the approval process.
- Now that you are inside the proposal form the blue question marks represent WSU-specific
help:
- If you start a proposal but can’t finish it right now simply scroll to the bottom
of the form and click the Save Changes button. When you are ready to return to this proposal you can use the same links
as above to access CIM. Then, search for the course, select it, and click the Edit Course button:

Step 3: Course Information
Effective Term - New courses can be given any effective term that is not a past term. Please note: If the term selected is over or close to over once the course proposal reaches the end of workflow, then the effective term will be moved to the next term by the Registrar’s Office.
Subject – Select the subject of the new special topic/lettered course.
Course Number - All special topic course numbers end in a letter or two letters. Do not use the letter ‘L’ which is reserved for labs or ‘H’ which is reserved for honors courses. Type in the number of the Approved Root Course that the new special topic course will fall under and then add the next available letter(s). If you do not know what letters are available, click on the grey Course Numbers in Use button after you fill in the Subject field.

Make sure to fill out all of the required information for the course. Red fields are required fields.
You are responsible for filling out the three boxes related to credit hour: Credit Hour Limit, Lecture Hours and Lab Hours.

Credit Hour Limit is the number of hours for which a course can be offered. Please use whole numbers only (3, not 3.0), unless you are proposing a half credit hour course (.5). If the course has a credit hour range, enter with dash (1-6).
Lecture Hours will be the same as Credit Hour Limit unless the course is Lab only.
If Lecture carries the credit, Lab Hours will be 0. If Lab carries the credit, Lecture Hours will be 0.
The Repeatable for credit question will automatically be marked as ‘No’. However, if the new course is repeatable for credit, toggle this answer over to ‘Yes’. Note: all courses can be repeated for grade replacement. This question relates to if this course be taken more than once for credit.

If there is a limit to the number of times that the course can be repeated for credit, check the Limit box and fill in the Limit field with the total credit hours that a student can earn by repeating the course.
If there is no limit, check the No Limit box.
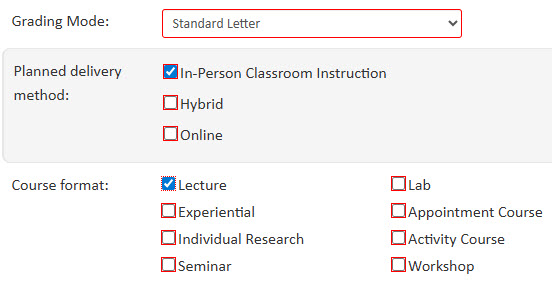
Select all of the appropriate items for Grading Mode, Planned Delivery Method, and Course Format. More than one answer can be selected for Planned Delivery Method. Only select one answer for Course Format.
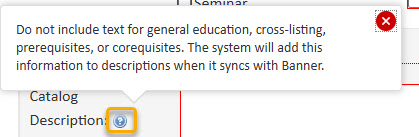
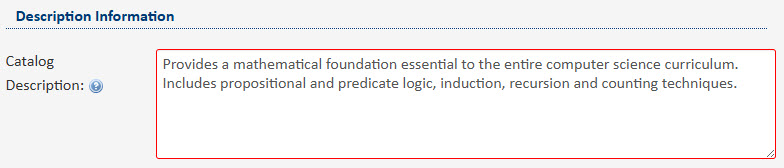
A Catalog Description (aka course description) is required for every course. This description must be in third-person, present tense and no longer than one paragraph. Do not include text for general education, cross-listing, prerequisites, or corequisites. The system will add this information to the description when it syncs with Banner based on what you have in other fields on the form.
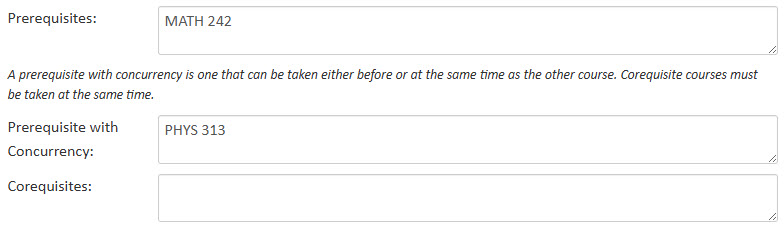
If the course requires a Prerequisite, Prerequisite with Concurrency, or Corequisite, fill out the appropriate box.
If applicable, list any Restrictions with the course. Examples of restrictions include: course limited to specific major, course limited to specific class (freshman, sophomore, etc.), course limited to specific college, etc.

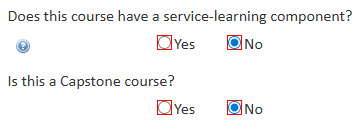
The questions for service-learning and capstone will automatically be marked as ‘No’. If the course does contain service-learning or is a capstone course, toggle the answer over to ‘Yes’. Note: additional fields will open and need to be filled out for the service-learning component.
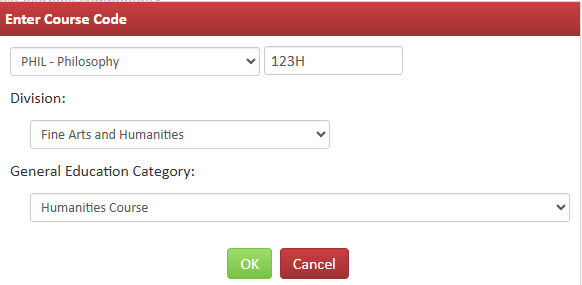
To add a Cross-List to your course, click on Add. A box will open which will allow you to select subject, number, division, and general education category (if applicable):

If this course is meant to replace another, select ‘Yes’.

You will be asked to enter the course that is being replaced and whether or not the two courses are equivalent. Please note: if the courses are equivalent, then check with the Registrar’s Office about whether a new course proposal is needed or if an edit to an existing course is preferred.
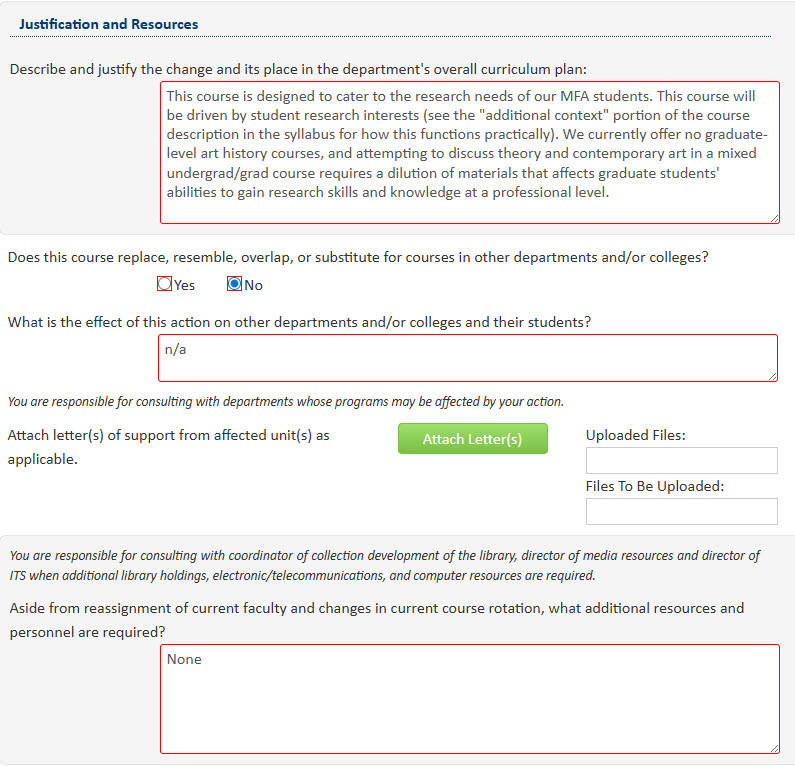
In the Justification and Resources section explain why the course is being created and answer the questions as to how this course may affect other departments/colleges, faculty, and/or resources. Also, if any letter(s) of support are needed, attach them here.
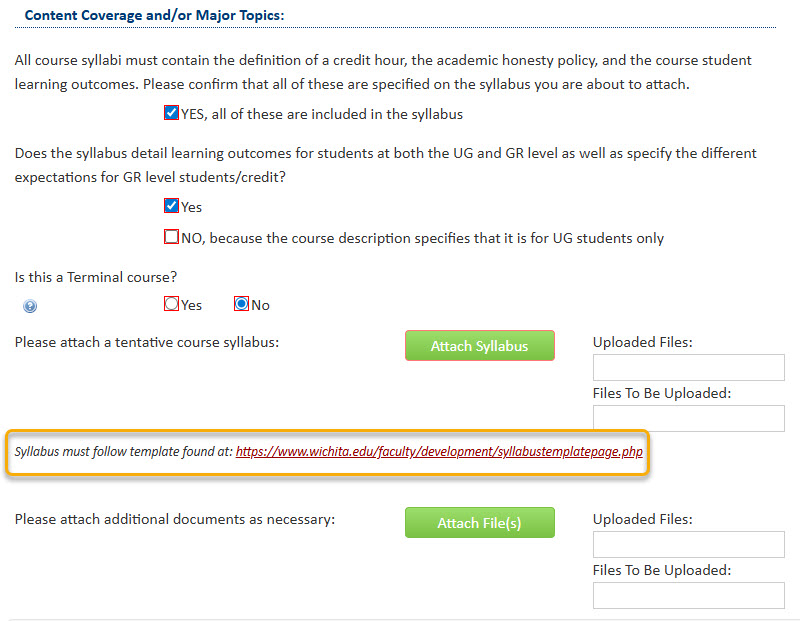
A tentative course syllabus that follows the standard syllabus template will need to be attached. Please Note: The question below concerning UG and GR level expectations will only appear on the form if the proposed course number is 500-699. The Terminal course question will only appear on the form if the proposed course number is 500+.
The General Education question is ‘No’ by default. If this course is seeking General Education status, then toggle this answer over to ‘Yes’.

Toggling over to ‘Yes’ will open up several specific General Education questions. You will need to fill out all of the required text boxes.
Step 4: Start Workflow
Once you have filled out the entire course proposal form, you will want to start the proposal through the workflow approval process by clicking the green Start Workflow button.
