Editing a Plan of Study Table
Accessing the Dashboard
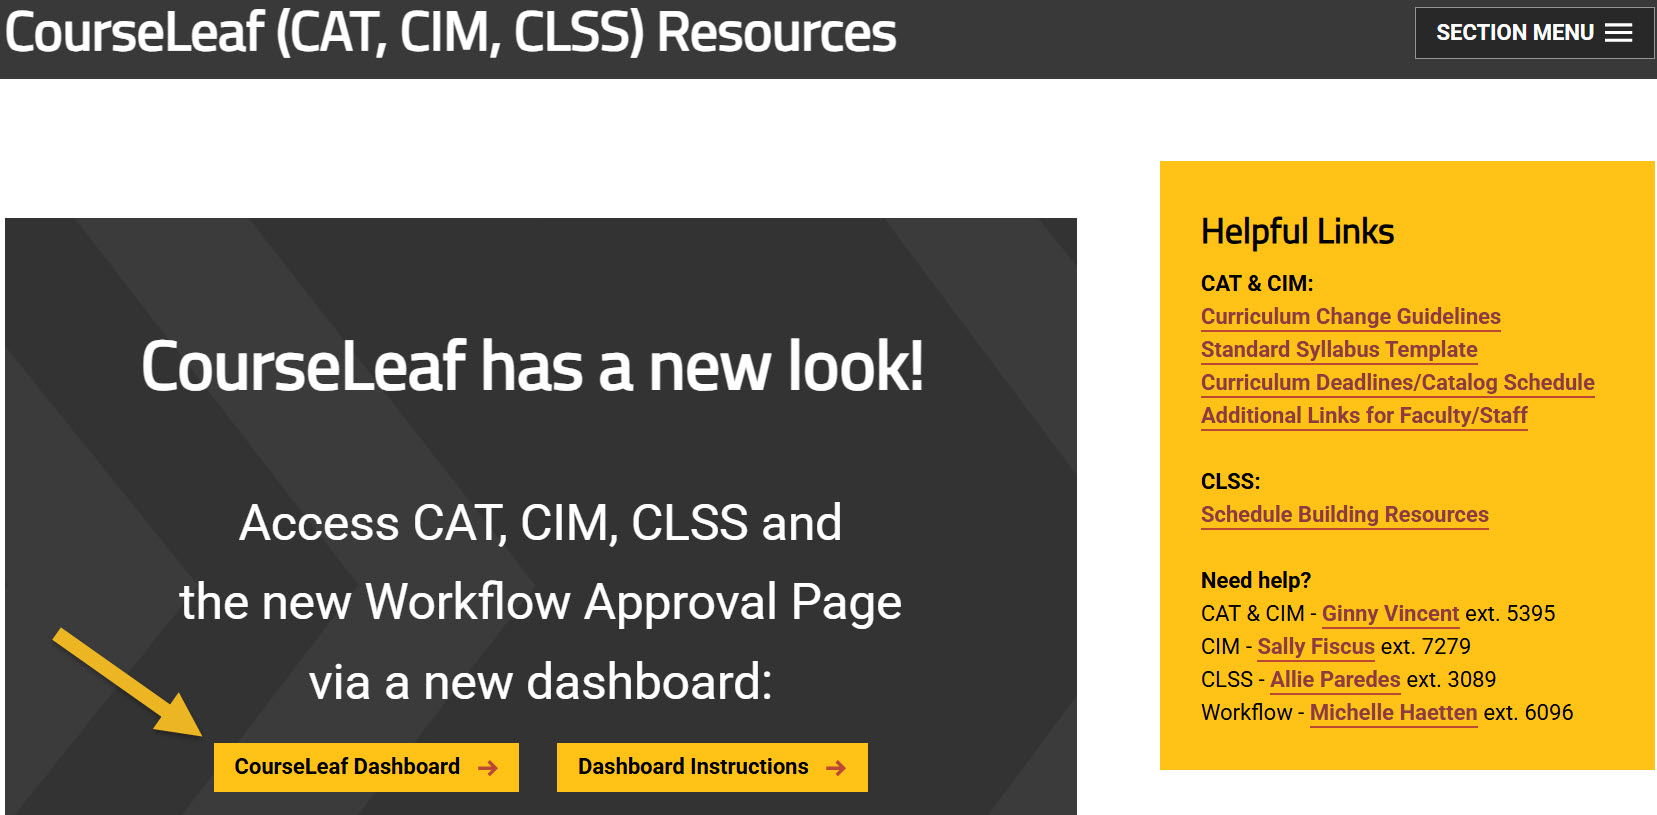
Using any web browser except Internet Explorer, go to the CourseLeaf (CAT, CIM, CLSS) Resources page (https://wichita.edu/courseleaf) and click the gold CourseLeaf Dashboard button link:
Accessing Program Management
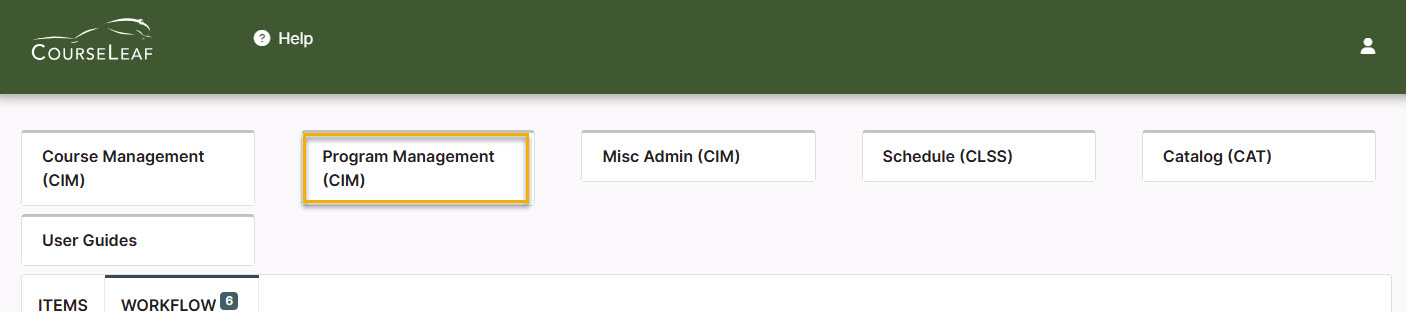
Once in the Dashboard, click on the Program Management (CIM) Module Card to be taken to the Program Management system.
Editing a Plan of Study Table Steps
Step 1: Search for the Program to Edit
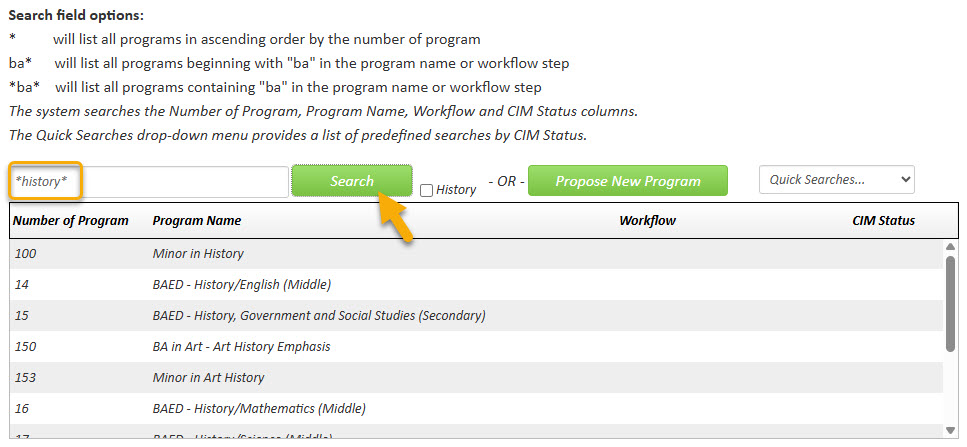
In the Program Management system there are various ways that you can search for the program you want to edit. You can type in the program number or use the asterisk as a wildcard to search for words in the Program Name:
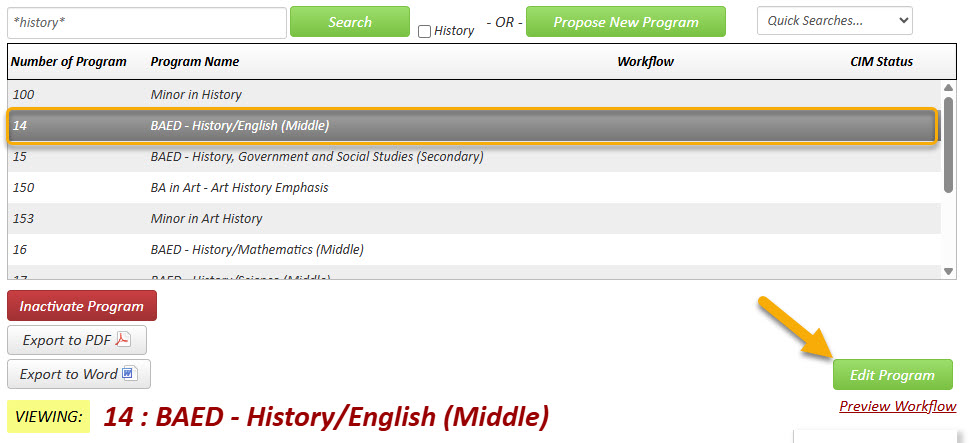
Click on the program that you want to edit to select it. Then click the green ‘Edit Program’ button:
Step 2: Opening Plan of Study Table Editor
A new window will open displaying the current values of each field for this program. Scroll down to the ‘Admissions’ or ‘Requirements’ area that contains the table you want to edit. The table is outlined in blue. Double-click anywhere within the blue outline to open the Plan of Study table editor. The editor will show all of the courses currently in the table on the right-hand side.
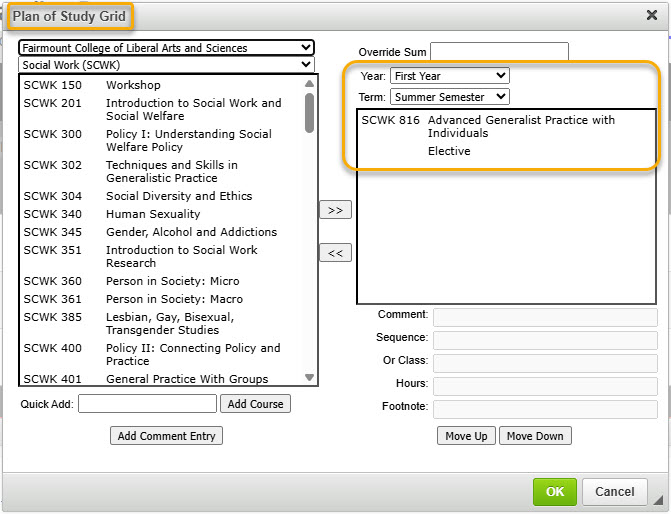
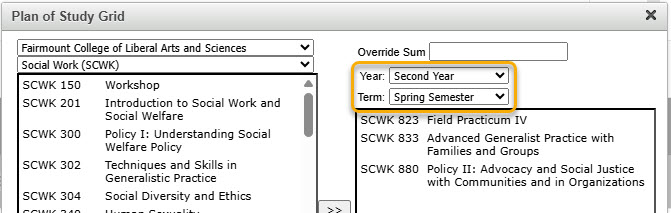
Use the drop-down areas next to the ‘Year’ and ‘Term’ fields to change to the area you want to edit:
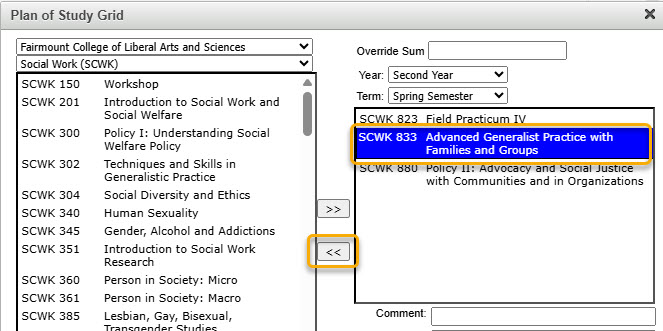
Step 3: Removing Courses
To remove a course from the table, select the course in the right-hand box that you want to remove and then click on the left-pointing arrows:
Step 4: Adding Courses
There are two ways to add courses to your table:
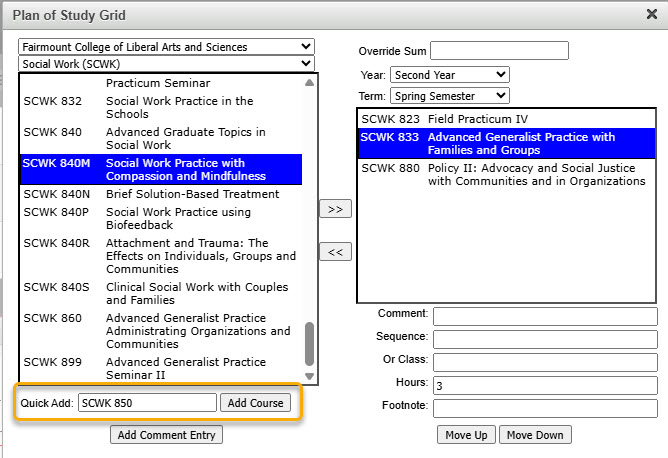
Option 1: Use the drop-down arrows on the left-hand side of the editor. You can search by college and subject to find a list of all available courses. Select the course you wish to add and then click on the right-pointing arrows:
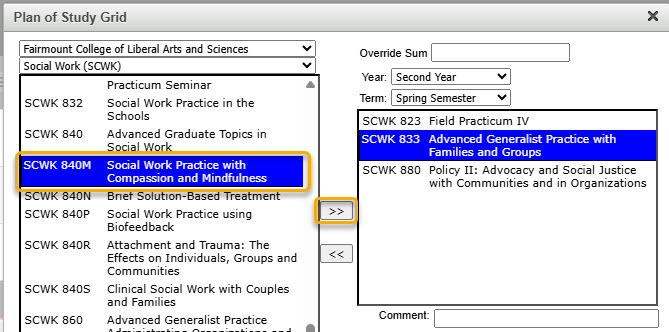
This will move the selected course (SCWK 840M) into the right-hand box.
Please Note: inactivated courses or new courses that haven’t been fully approved in workflow will not be found in the list of available courses. In order to add these courses to your table, you must use the ‘Quick Add’ feature illustrated in Option 2 below.
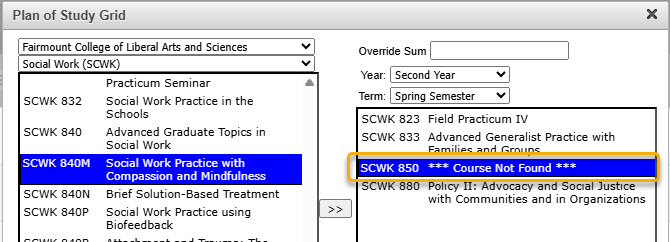
Option 2: The ‘Quick Add’ field allows you to manually type in the course you want to add without searching for them. Type in the subject code and number of the course you want to add, and then click on the ‘Add Course’ button. The subject code must be typed in all caps, and there must be a space before the number for the system to recognize the course. Do not type in the course title in the ‘Quick Add’ box.
Please Note: If you are adding a new course that is going through workflow for approval, you can add it to your table with the Quick Add feature. The course will appear as “Course Not Found” in your table. However, once the course is fully approved and out of workflow, the table will automatically fill in the correct information.
Step 5: Adding Comments
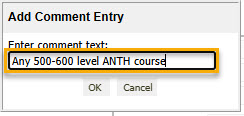
To add a comment on its own line or header to your course list, use the ‘Add Comment Entry’ button located in the bottom left corner of the table editor.
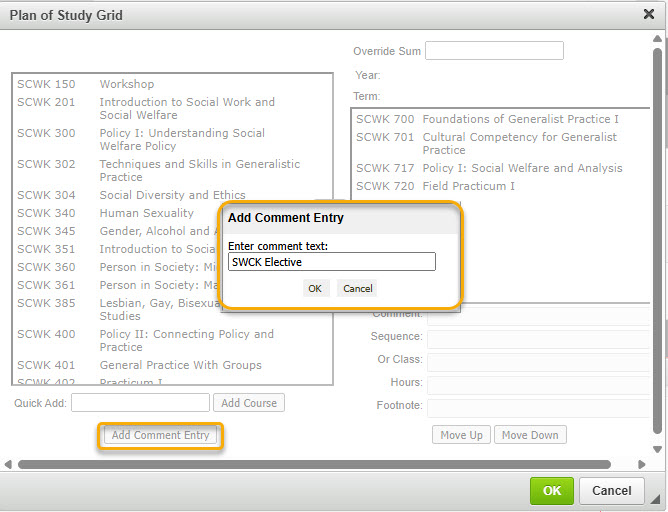
Comments can also be used to add lines about requirements such as how many electives to select from a list or a certain type of elective course that students need to select.
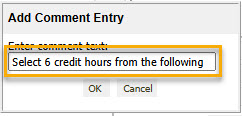
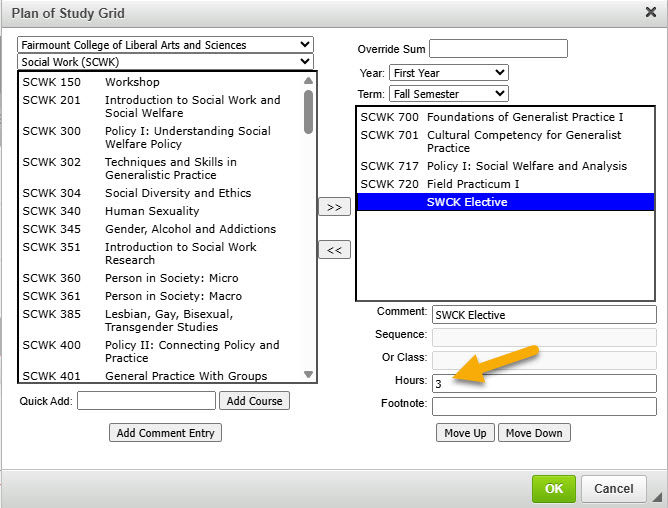
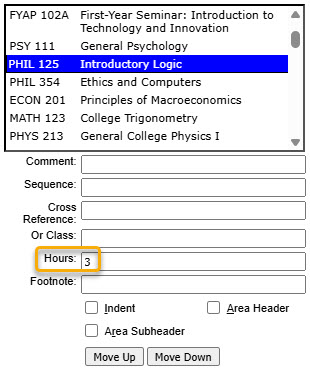
With these comments, credit hours can be added by typing in the ‘Hours’ field. These hours will then be added to the Credit Hour column of the course table.
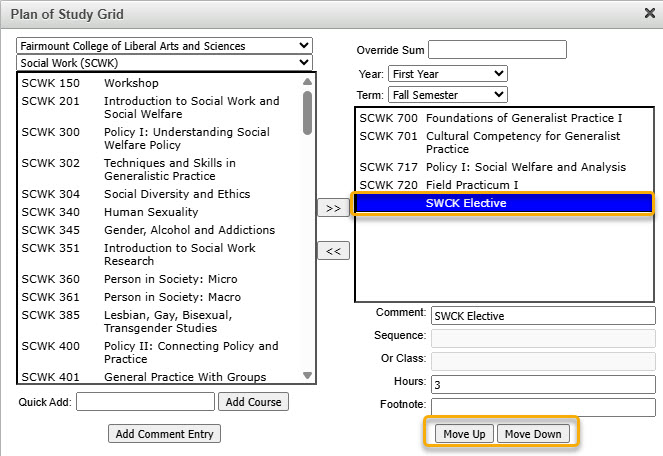
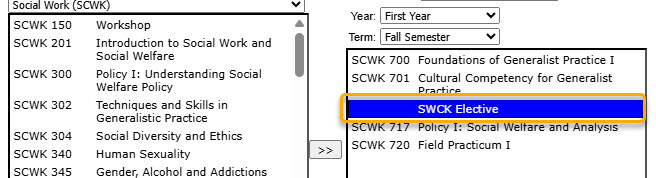
Step 6: Moving Text and Courses
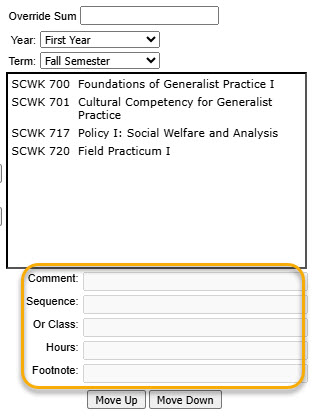
To move text and/or courses around in your table, select the item in the right-hand box that you want moved and then use the ‘Move Up’ and ‘Move Down’ buttons:
Step 7: Additional Features
The items on the bottom right side of the table editor are additional features that you can perform to the course you select in the box above:
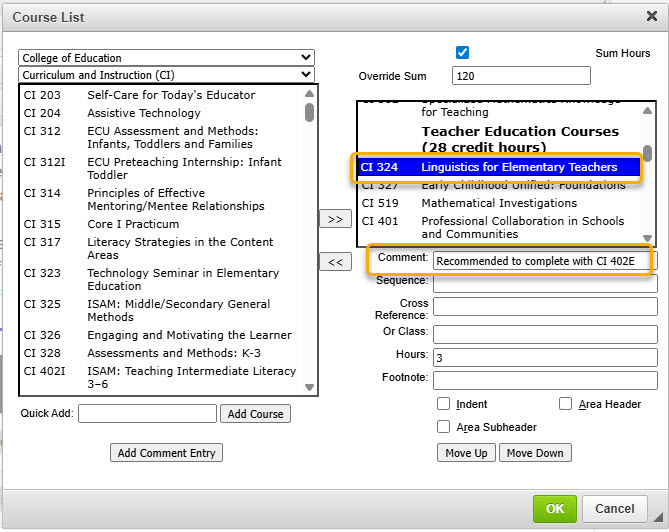
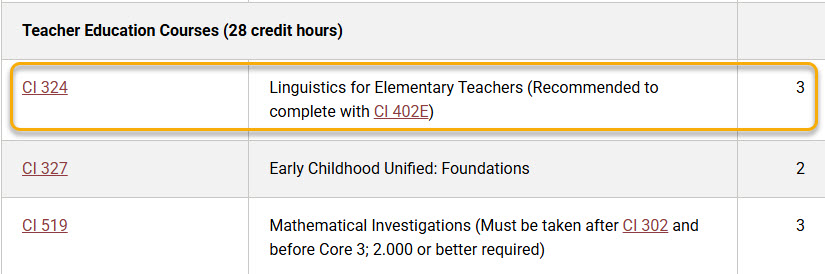
Comment – add parenthetical text that will appear next to the selected course. (This field displays differently than when you use the ‘Add Comment Entry’ button located in the lower left of the table editor window.)
Displays like this in catalog:
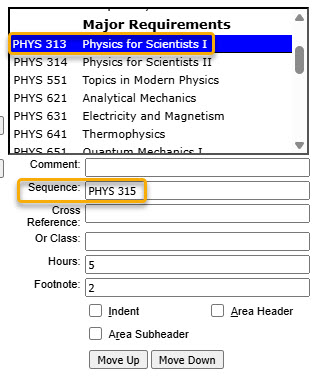
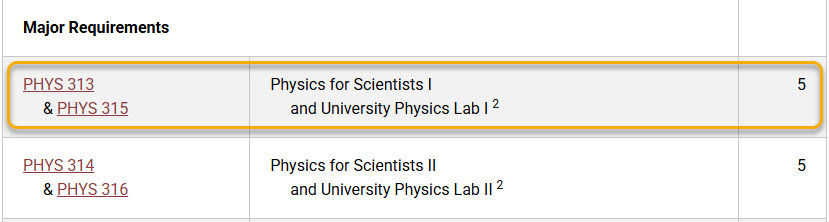
Sequence – list other courses that must be taken with or in addition to the selected course (creates an ‘&’ situation: PHYS 313 & PHYS 315)
Displays like this in catalog:
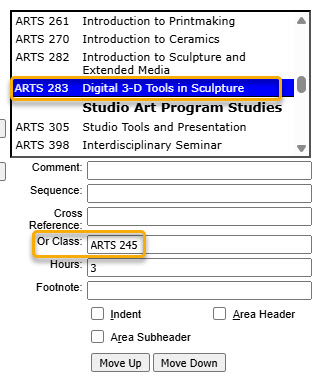
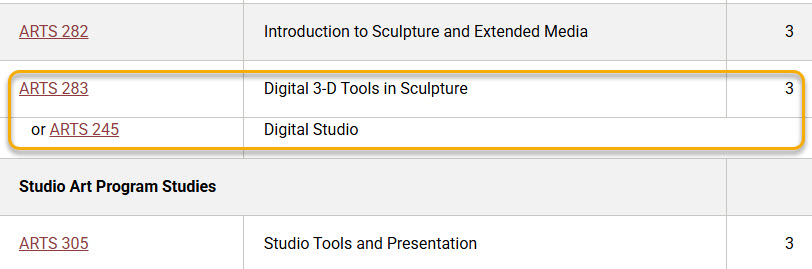
Or Class – list alternative course(s) to the selected course (creates an ‘OR’ situation: ARTS 283 OR ARTS 245)
Displays like this in the catalog:
Hours – this field will automatically be populated with the credit hours of the selected course; you can change this number if necessary (i.e. a repeatable course such as a thesis course needs to be taken multiple times for a total of 8 credit hours)
Footnote – if you need to reference a footnote, add the footnote number here
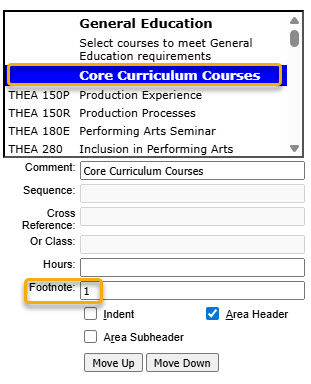
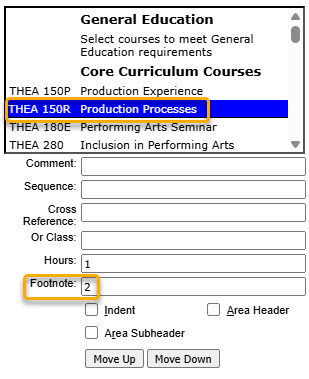
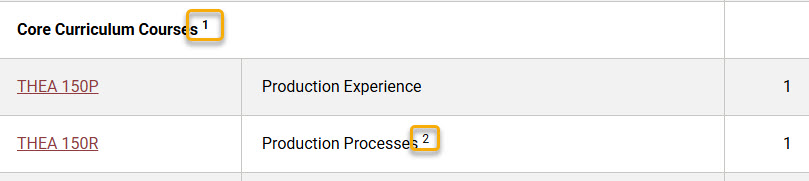
Displays like this in catalog:
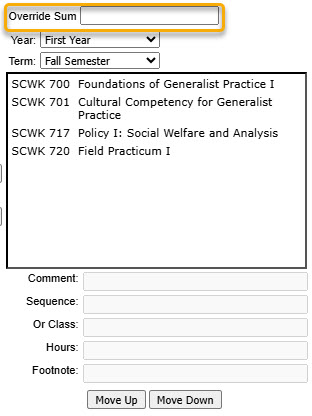
Override Sum - You can override the sum of the table credit hours by typing in the total required credit hours.
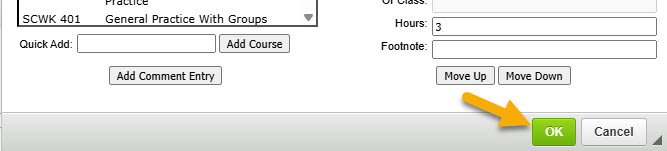
Step 8: Finishing Table Edits
When you are done making all of your desired changes, make sure to click on the green ‘OK’ button to save the changes to the Plan of Study Grid table:
If you need to go back and edit the table, double click anywhere inside the inserted table that is outlined in blue.
Step 9: Submit to Workflow
Continue making any other necessary changes to the program form. When you are ready to submit the proposal to the electronic workflow, click the green 'Start Workflow' button. If you need to save your work and come back at another time, click on the gray 'Save Changes' button and then edit this program again later.
