Use this guide to get started with your Shocker Printing Solutions online storefront order
Navigate to: shockerprinting.wichita.edu
Use your myWSU login credentials to login to the Shocker Printing Solutions storefront.
The Ordering Home Page is displayed when you first log in to the Shocker Printing Solutions home page. This page is where you’ll start when you want to add items to your Cart.

After logging in to the storefront, there are a few different ways to get items into your shopping Cart to order.
- Upload files from a folder to your cart
- Drag and drop files to your cart
- Upload a file using the SurePDF printer (You will need to download SurePDF first. This is available at the bottom of the Ordering Home page.)
Upload one or more files from your desktop by selecting them from a folder:
- On the Ordering Home page, click anywhere on the Upload Any File tile. The Open or Choose File dialog box is displayed, filtered to show only file types that are accepted for upload by Shocker Printing.
- Navigate to the folder containing the file(s) you want.
- Select one or more files in the folder. Use standard selection methods for your computer to select multiple files (for example, shift-click and ctrl-click).
- Click Open to upload the selected files. The Cart page is displayed after the files have been uploaded.
- If you want to upload more files (for example, from a different folder), click Continue Shopping on the Cart page, then repeat steps 1-4.
Upload one or more files from your desktop using drag and drop:
- Navigate to the folder containing the file(s) you want.
- Select one or more files in the folder. Use standard selection methods for your computer to select multiple files (for example, shift-click and ctrl-click).
- Drag the files to the Ordering Home page and drop them anywhere on the Upload Any File tile. The Cart page is displayed after the files have been uploaded.
- If you want to upload more files (for example, from a different folder), click Continue Shopping on the Cart page, then repeat steps 1-3.
This option will convert your file to a PDF and include your fonts and formatting. You will need to download SurePDF first. The download is at the bottom of the ordering home.
- Open or create your file. You can use any application that supports PostScript printing, such as Word or Excel.
- Rather than saving your document as a PDF, choose Print from your File menu.
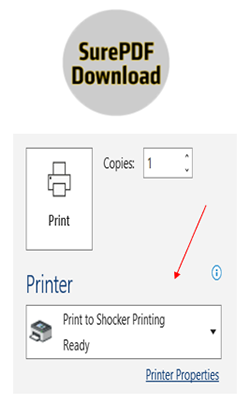
- Select the SurePDF printer from the Printer drop-down list (the default printer name should be Shocker Printing).
- Click Print on the Print dialog box. The progress bar is displayed as the file is being converted to PDF and uploaded to the Shocker Printing storefront cart.
- You can choose to add the document to your cart or add it to a book.
- If desired, provide an optional name for your order. This is handy if you need to reorder this in the future.
- Click the Preview/Change Options link to configure the Print Options for each item in the order. (See instructions for using the Preview/Change Options page.)
- Click Continue Shopping to add more items to your Cart if desired.
- Click the Please Provide a Printed Proof button if a proof is required.
- Select the desired Due Date for your order using the pop-up calendar.

- Select whether you would like your order delivered or if you would like to pick it up.
- Enter your Org/Fund information
- Click Place Order to place your order.
When you place your order, it is submitted to us immediately and you will receive a confirmation email.
You can choose your printing preferences here by clicking thru the following options:
- Output: Choose between color or black/white printing.
- Paper: Choose the paper you prefer for this print job. Start by choosing a color or choose based on paper size.
- Choose one-sided or two-sided printing.
- Choose whether you would like covers added to your project.
- Choose a whether you would like your project bound, folded, cut, laminated, shrink-wrapped, padded, or perforated.
- Leave special instructions if you do not see your preferred option listed.
- Click Done with Print Options at the bottom of the page.
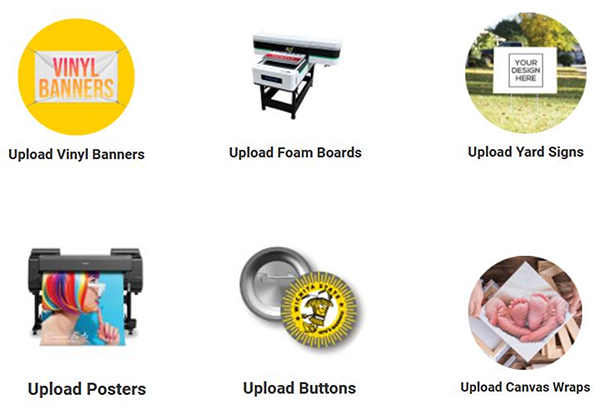
If I can upload any file with this button,  what are the other buttons for? Well, we are glad you asked!
When you use these buttons, the print options are directly related to these items. For example, when you upload using the Vinyl Banner button, your print options will include grommets.
Do you have several files that you would like put together into one document? Use
the Combine Docs upload, it’s easy peasy. 
- Drag your first document into the Combine Docs folder.
- A pop-up will appear to give your book a name. Name the book and click Save.

- Then click on Find More Documents to add more to the book.

- Continue adding documents until you have everything. Then click Books at the top of
your page next to your shopping cart.

- Use the arrows to move your documents and put them in the correct order.
- Click Assemble Book and Add to Cart at the bottom of the page.
- Your book is now assembled and ready to preview in the shopping cart.

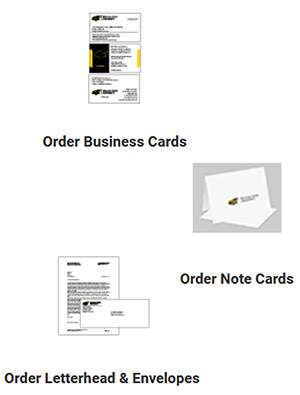
Click the Order button to start your order.
Choose your preferred business card style and click on the CONFIGURE box on the right.
All the required fields must be completed before you can finish and click the Add to Cart button at the top of the page.
Once you click Add to Cart, you will go back to the order page. If you are ready to check out, click on the CART button at the top of the page and you will be taken to the checkout page.
 Shocker Printing Solutions can print on most fabric, please contact us if you have
any questions about the piece you would like printed.
Shocker Printing Solutions can print on most fabric, please contact us if you have
any questions about the piece you would like printed.
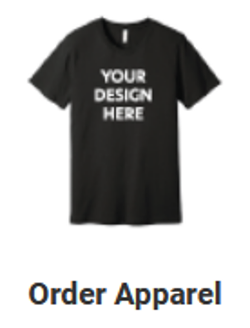
Click on the Order Apparel button and complete the form. You are not required to purchase your apparel from us, but we are able to order these items at a very low cost.
You will drag and drop your artwork into the form and tell us where to place the art.
Click Add to Cart when you have completed the form.
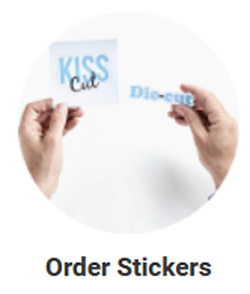 Click on the Order Stickers button.
Choose between the options for stickers we keep in stock or create your own.
To create your own stickers, click CONFIGURE and complete the form. ![]()
You will drag and drop your artwork into the form.
Click Add to Cart when you have completed the form.
 Click the Order Office Supplies button to begin your order.
Click on the various folders within the Supply catalog to view available items.
Add a quantity to each item, then click Add to Cart.
![]()
Use the search box to help find an item you are looking for:
![]()
If you can’t find your item, complete the Special Order Form and add it to your cart. We will order your item for you.
Click on the Cart when you are ready to complete your order.
![]()
Once your cart is loaded, and you have chosen your printing preferences, you are ready to submit your order to Shocker Printing.
Select a due date for your print order. Use the calendar icon to choose a date. Be aware of the possibility of rush fees for jobs requested within 48 hours of the order.
Rush fees will be charged if we are required to shift our deadlines and reprioritize our existing workload to complete your job in a shorter than normal timeframe. Our system cannot calculate a percentage cost, so you may not get an accurate cost estimate. Rush fees apply only to printing and not to supply orders.
- Printing needed in less than 24 hours: Add 30% of the total amount invoiced or $35.00, whichever is higher.
- Printing needed in less than 48 hours: Add 20% of the total amount invoiced or $25.00, whichever is higher.

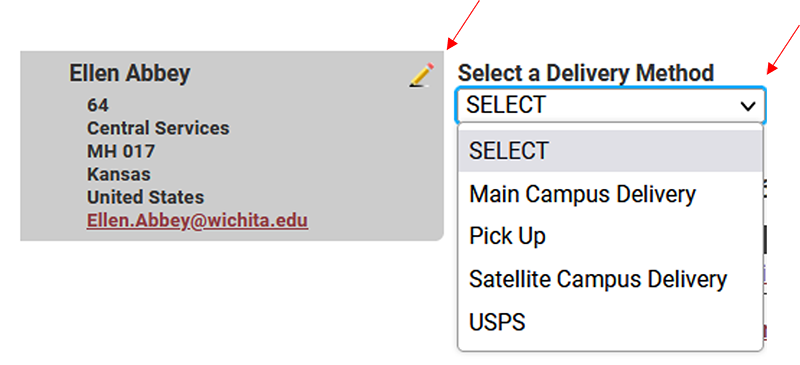
Who’s going to get the stuff that your ordered? You can choose to have your order delivered to someone else. Use the delivery section to tell us where you want your order to go.
Click the pencil icon to edit the delivery address. This is where your order will be delivered.
Click the drop-down arrow for delivery method and tell us if you will pickup the order or if we should deliver on campus, to a satellite campus or via the post office.
How will you pay for your order? You have three options for payment.
- Enter your org and fund number and your payment will be processed by Shocker Printing via Banner. You will not need to do any paperwork; we will do it for you.
- For a personal order, let us know your form of payment when you arrive to pick up your order.
- For a cash billing, enter your account number and we will send you an invoice to process payment using other funds, such as Foundation funds.
