Sharing Course Video in Blackboard
The sharing process depends on where you started, and how you would like to share.
You can share your course video in two ways:
- Embed - plays inside of Blackboard.
- Link - opens in a separate browser window.
Steps for Sharing Course Video
- Find your video.
- Set the permissions on your video so that your students have access and copy the link or embed code.
- Add the link or embed code to Blackboard.
Easy, right? We know, it's easier said than done. Let's flesh out these steps.
Step 1: Find your video
If you recorded via Teams your video is automatically saved to a folder in your OneDrive titled "Recordings."
If you recorded via PowerPoint, Snagit, or ClipChamp, you determine where your video is saved, which should be somewhere in your OneDrive.
Tip: Create a OneDrive folder for each course and save your videos in that folder. This helps you keep track of things, but also allows you to share an entire folder instead of each video inside the folder.
Step 2: Set Permissions and get Link or Embed Code
If you created a OneDrive folder for your course and would like to share the entire folder with your students:
- Locate the folder. Notice that it is marked "Private."
- Select the "more actions" menu (3 dots), then select "Manage Access."
- Select "Grant Access" (icon: person with a plus sign)
- Decide what access level you want to grant (choose between "Can edit" and "Can view").
- In the "To:" section, type individual names, or the name of a Team or group.
- Decide whether you want to notify people that you are sharing the folder. It will only email individual users or members of a specific Team.
- Select "Grant Access"
- Finally, notice that the folder is now marked "Shared."
There are two ways to share videos in Blackboard.
- Post a link: in OneDrive, this requires getting a shareable link that allows access to the video
- Embed a video: in OneDrive, this requires granting access to the video
Video Tutorial: Share a video link
- Locate the video. Notice it's marked private.
- Select the "more actions" menu (3 dots), then select "Copy link."
- A window with the link will open. If it says "People in Wichita State University with the link can view," copy the link and you are ready to post.
- If you have not previously shared the video, and it says something other than "People in Wichita State University with the link can view," your students will not be able to see your video. Click on the text to open the Sharing Settings.
- Choose "People in Wichita State University."
- Select "Apply."
- Copy the link.
The settings for embedding a video require more access than the settings for a link. To grant access, we will follow the steps (a) through (h) for sharing an entire folder, but this time it will be for a single file. See the video tutorial above for a walk-through of the process.
Let's assume your recording is in OneDrive.
- Locate the video file. Notice that it is marked "Private."
- Select the "more actions" menu (3 dots), then select "Manage Access."
- Select "Grant Access" (icon: person with a plus sign).
- Decide what access level you want to grant (choose between "Can edit" and "Can view").
- In the "To:" section, type individual names or the name of a Team or group.
- Decide whether you want to notify people that you are sharing the file. It will only email individual users or members of a specific Team.
- Select "Grant Access"
- Notice that the file is now marked "Shared."
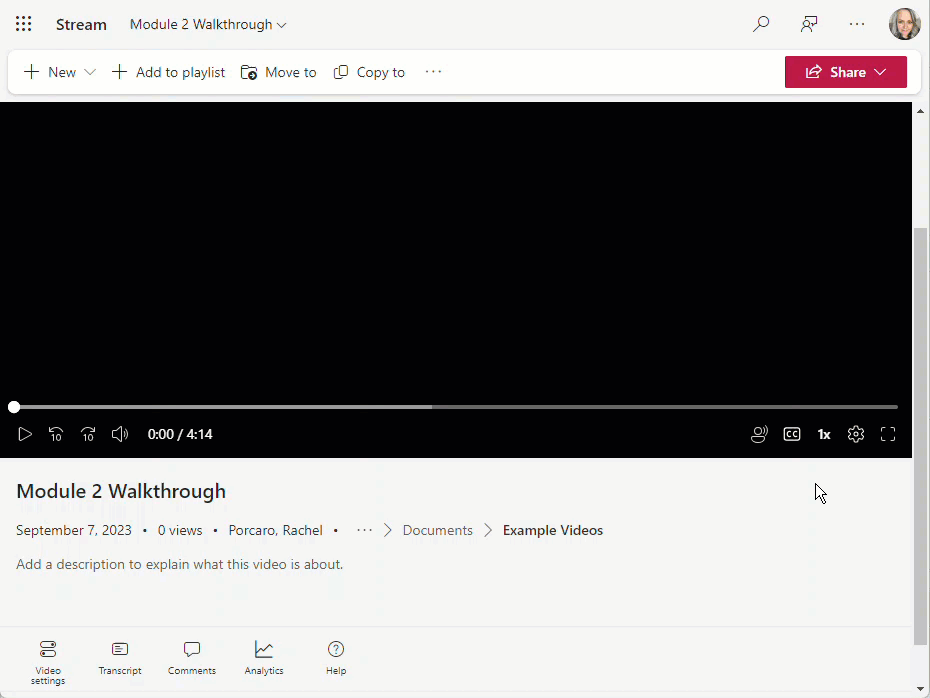
- To get the embed code, select the file name to open the video in Stream.
- Select "Share," then "Embed code."
- Check your video settings, then select "Copy embed code."
Step 3: Add the link or embed the video in Blackboard
- Navigate to the area where you would like your video link.
- Select the plus sign (add content), then "Create."
- Select "Link."
- Give your link a name, paste in the link, and add a description (optional).
- Select "Save."
- Navigate to the area where you would like your video.
- Select the plus sign (add content), then "Create."
- Select "Document."
- Give your document a name and select "Add HTML."
- Paste your embed code.
- Select "Save."