WiFi Setup on a Chromebook
When you power on your Chromebook, you will be prompted to setup your WiFi Network. These instructions will guide you through the process of setting up your WiFi Network.
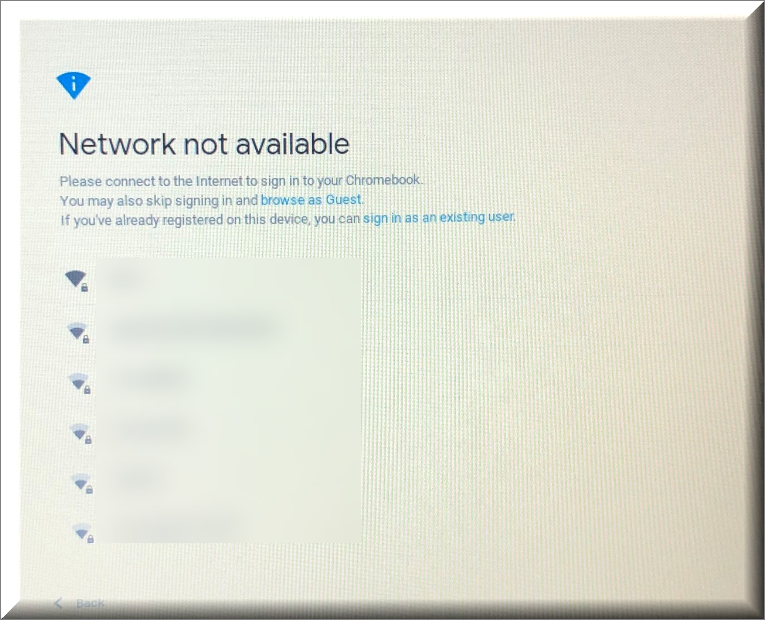
1. Select your home Wifi network from the list that appears
2. On the login screen, enter your information:
- SSID: your WiFi network name
- Password: your WiFi password.
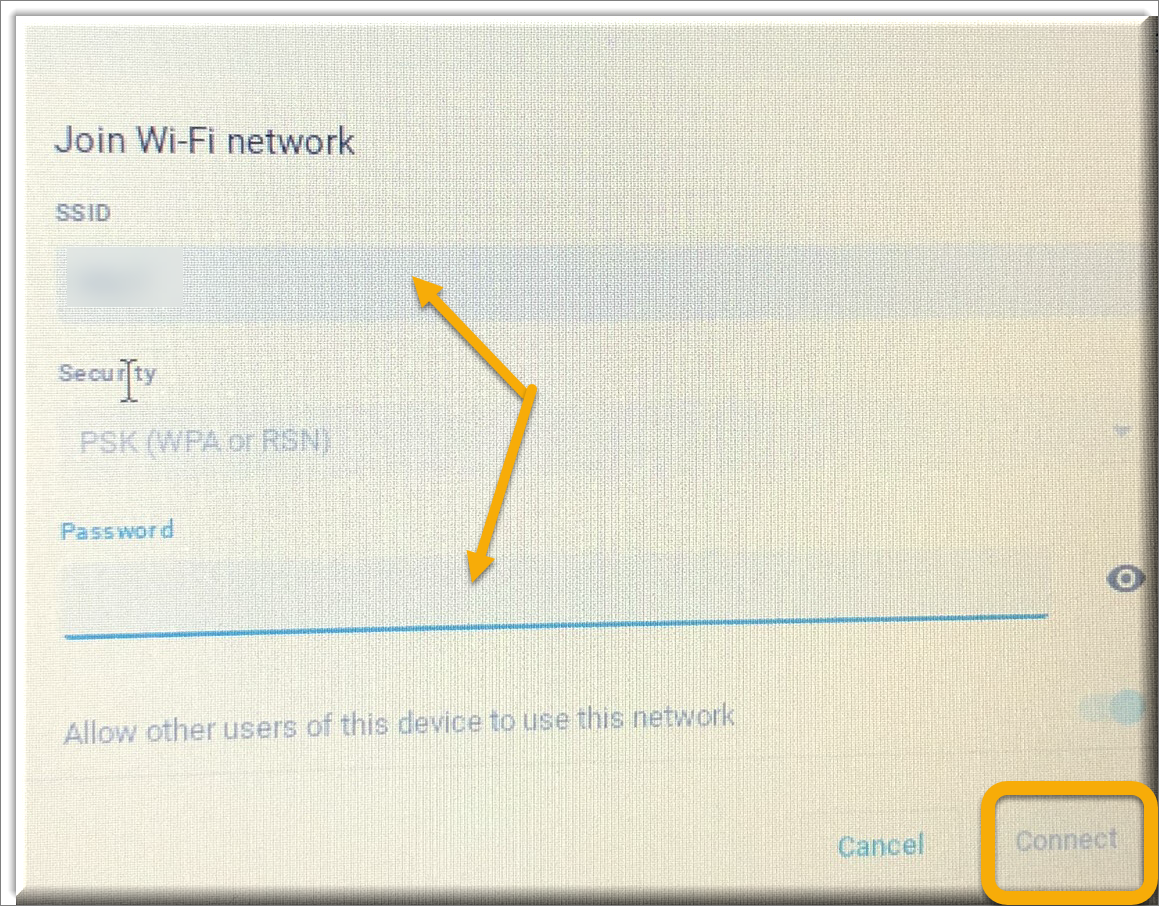
3. A WiFi icon will appear at the lower right corner of the screen, indicating that the connection is successful.

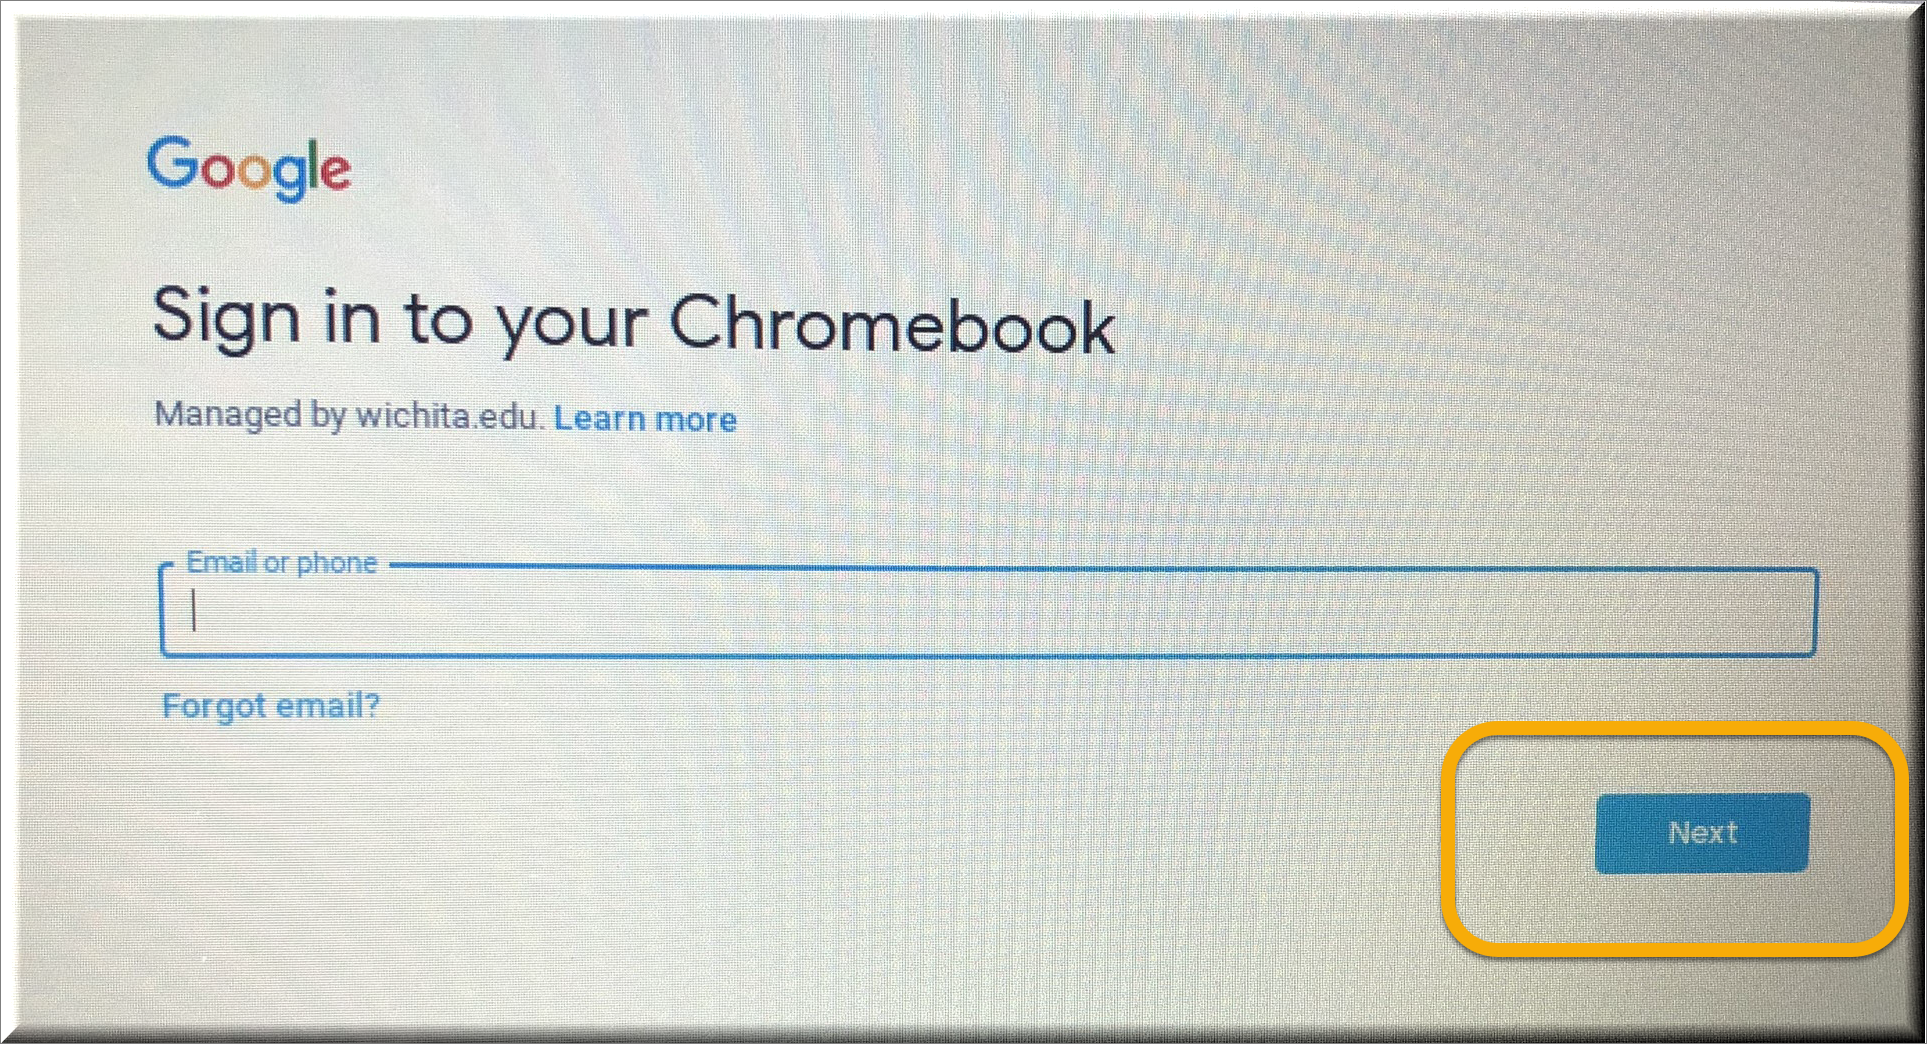
4. You will be prompted to sign in to your Chromebook. Enter your Gmail address and press Next.
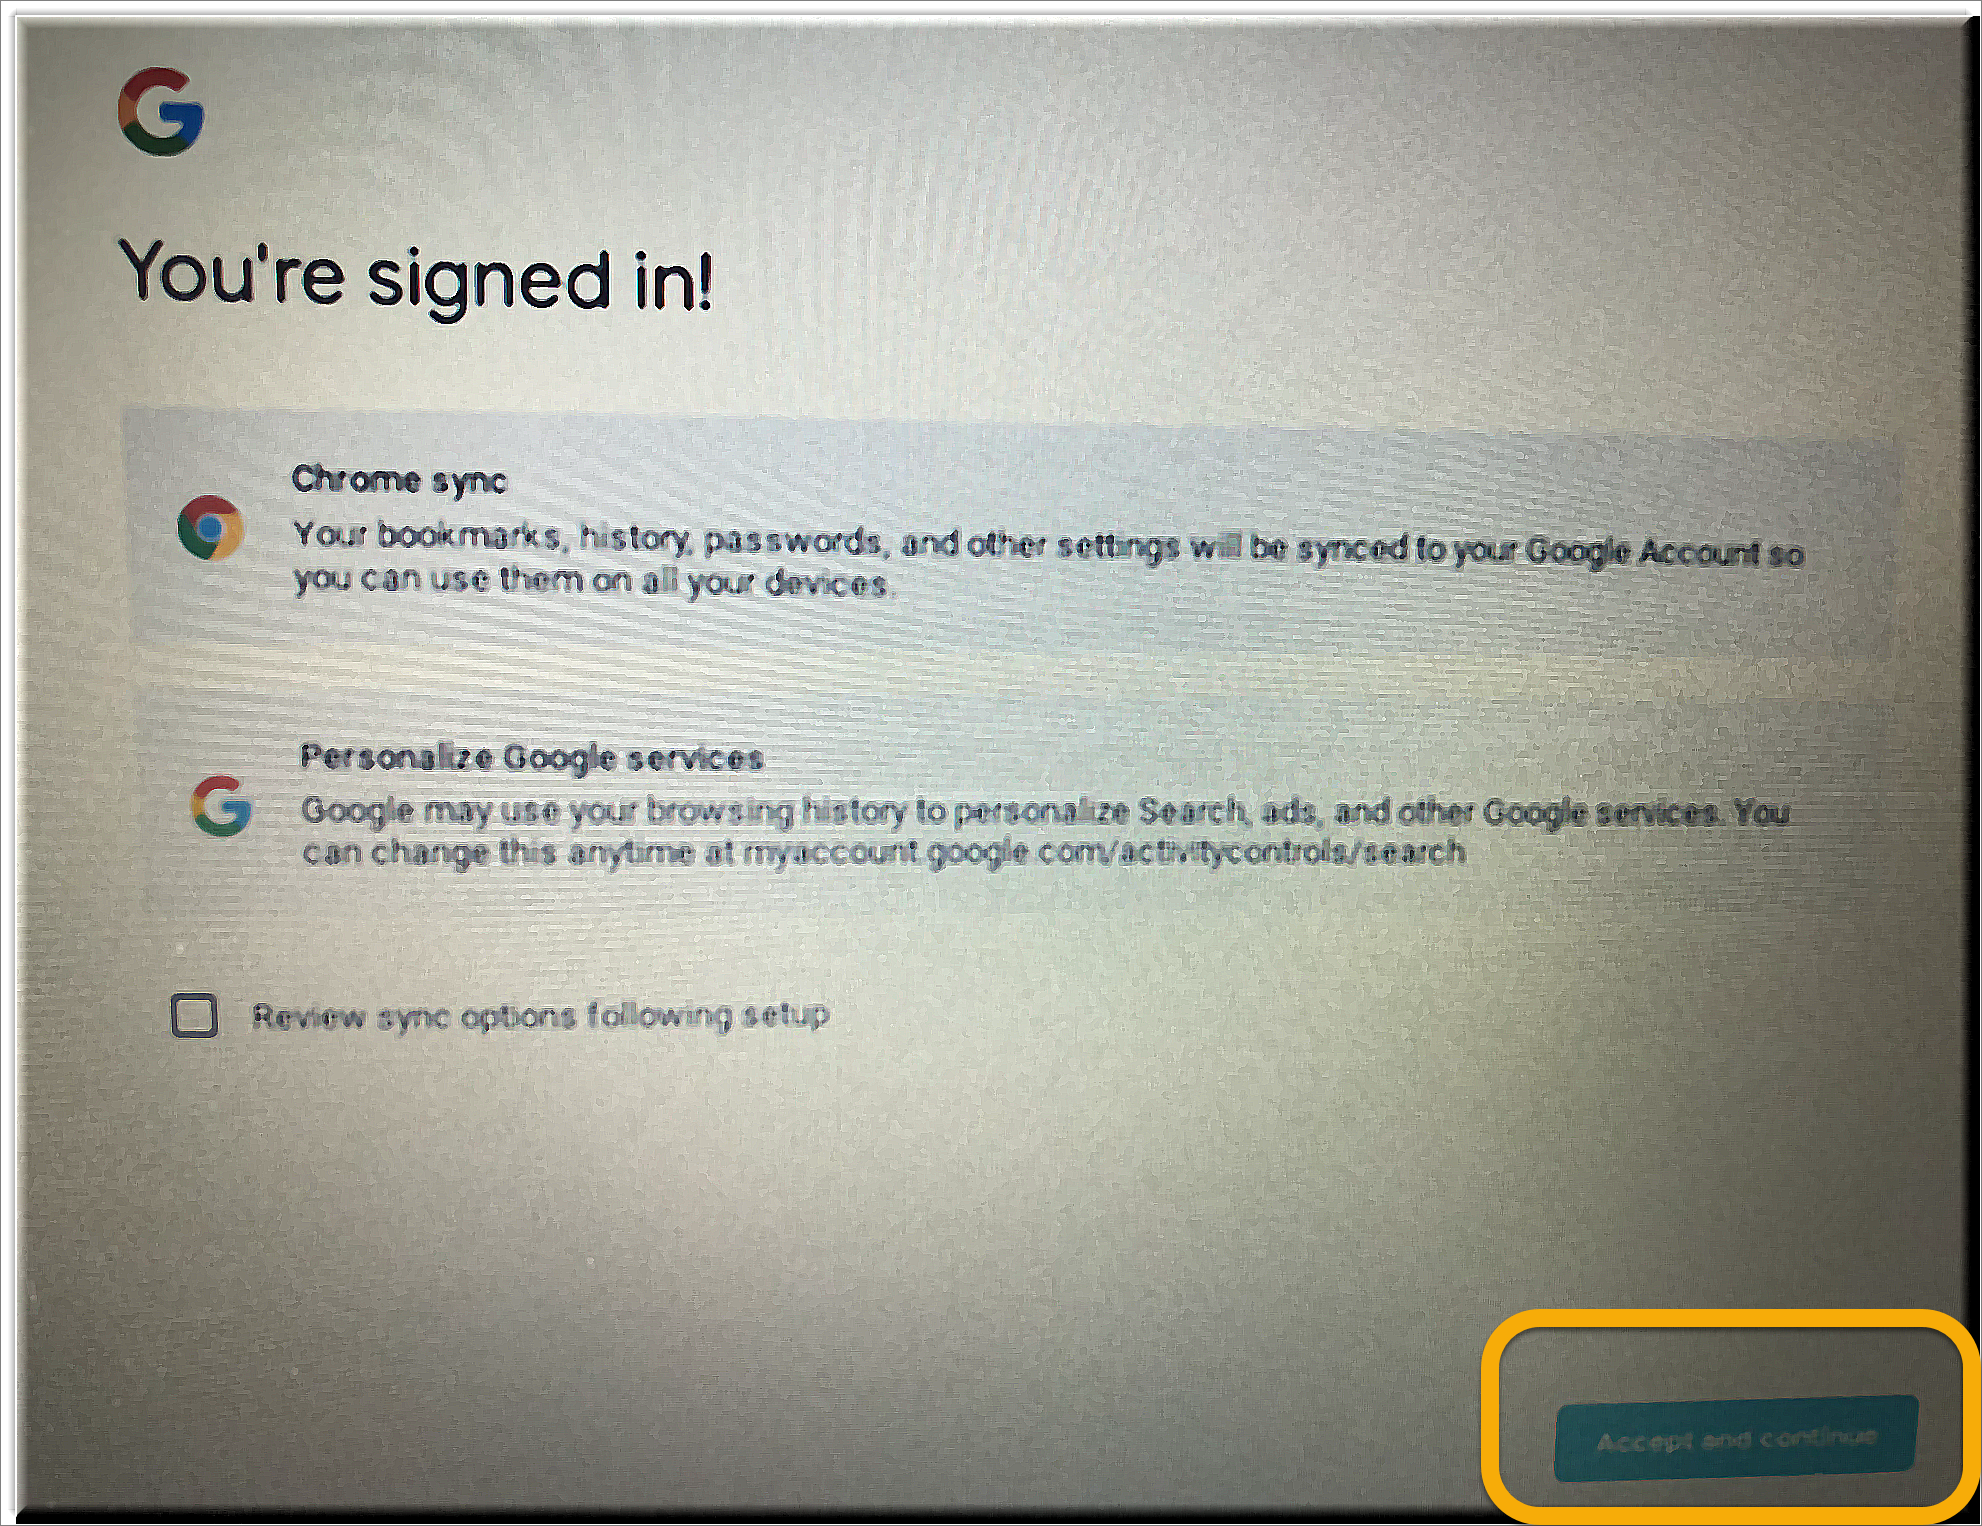
5. You will receieve a prompt that you have successfully signed in. Press Accept and Continue.
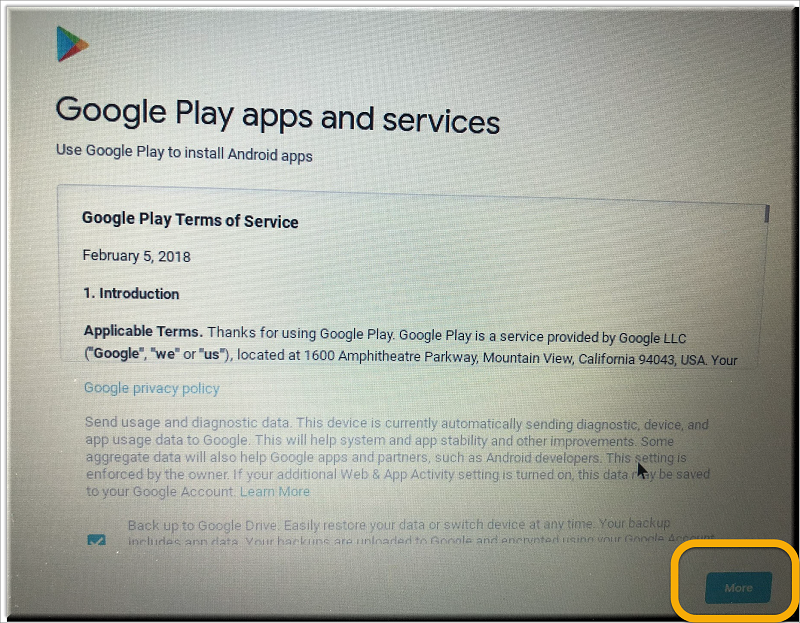
6. You will be taken to a Google Play screen displaying Terms of Service. Press More.
7. On the next screen, uncheck the boxes next to "Back up Google Drive" and "Use Location." Press Accept.

8. You will be prompted to "Meet your Google Assistant." Press No Thanks.

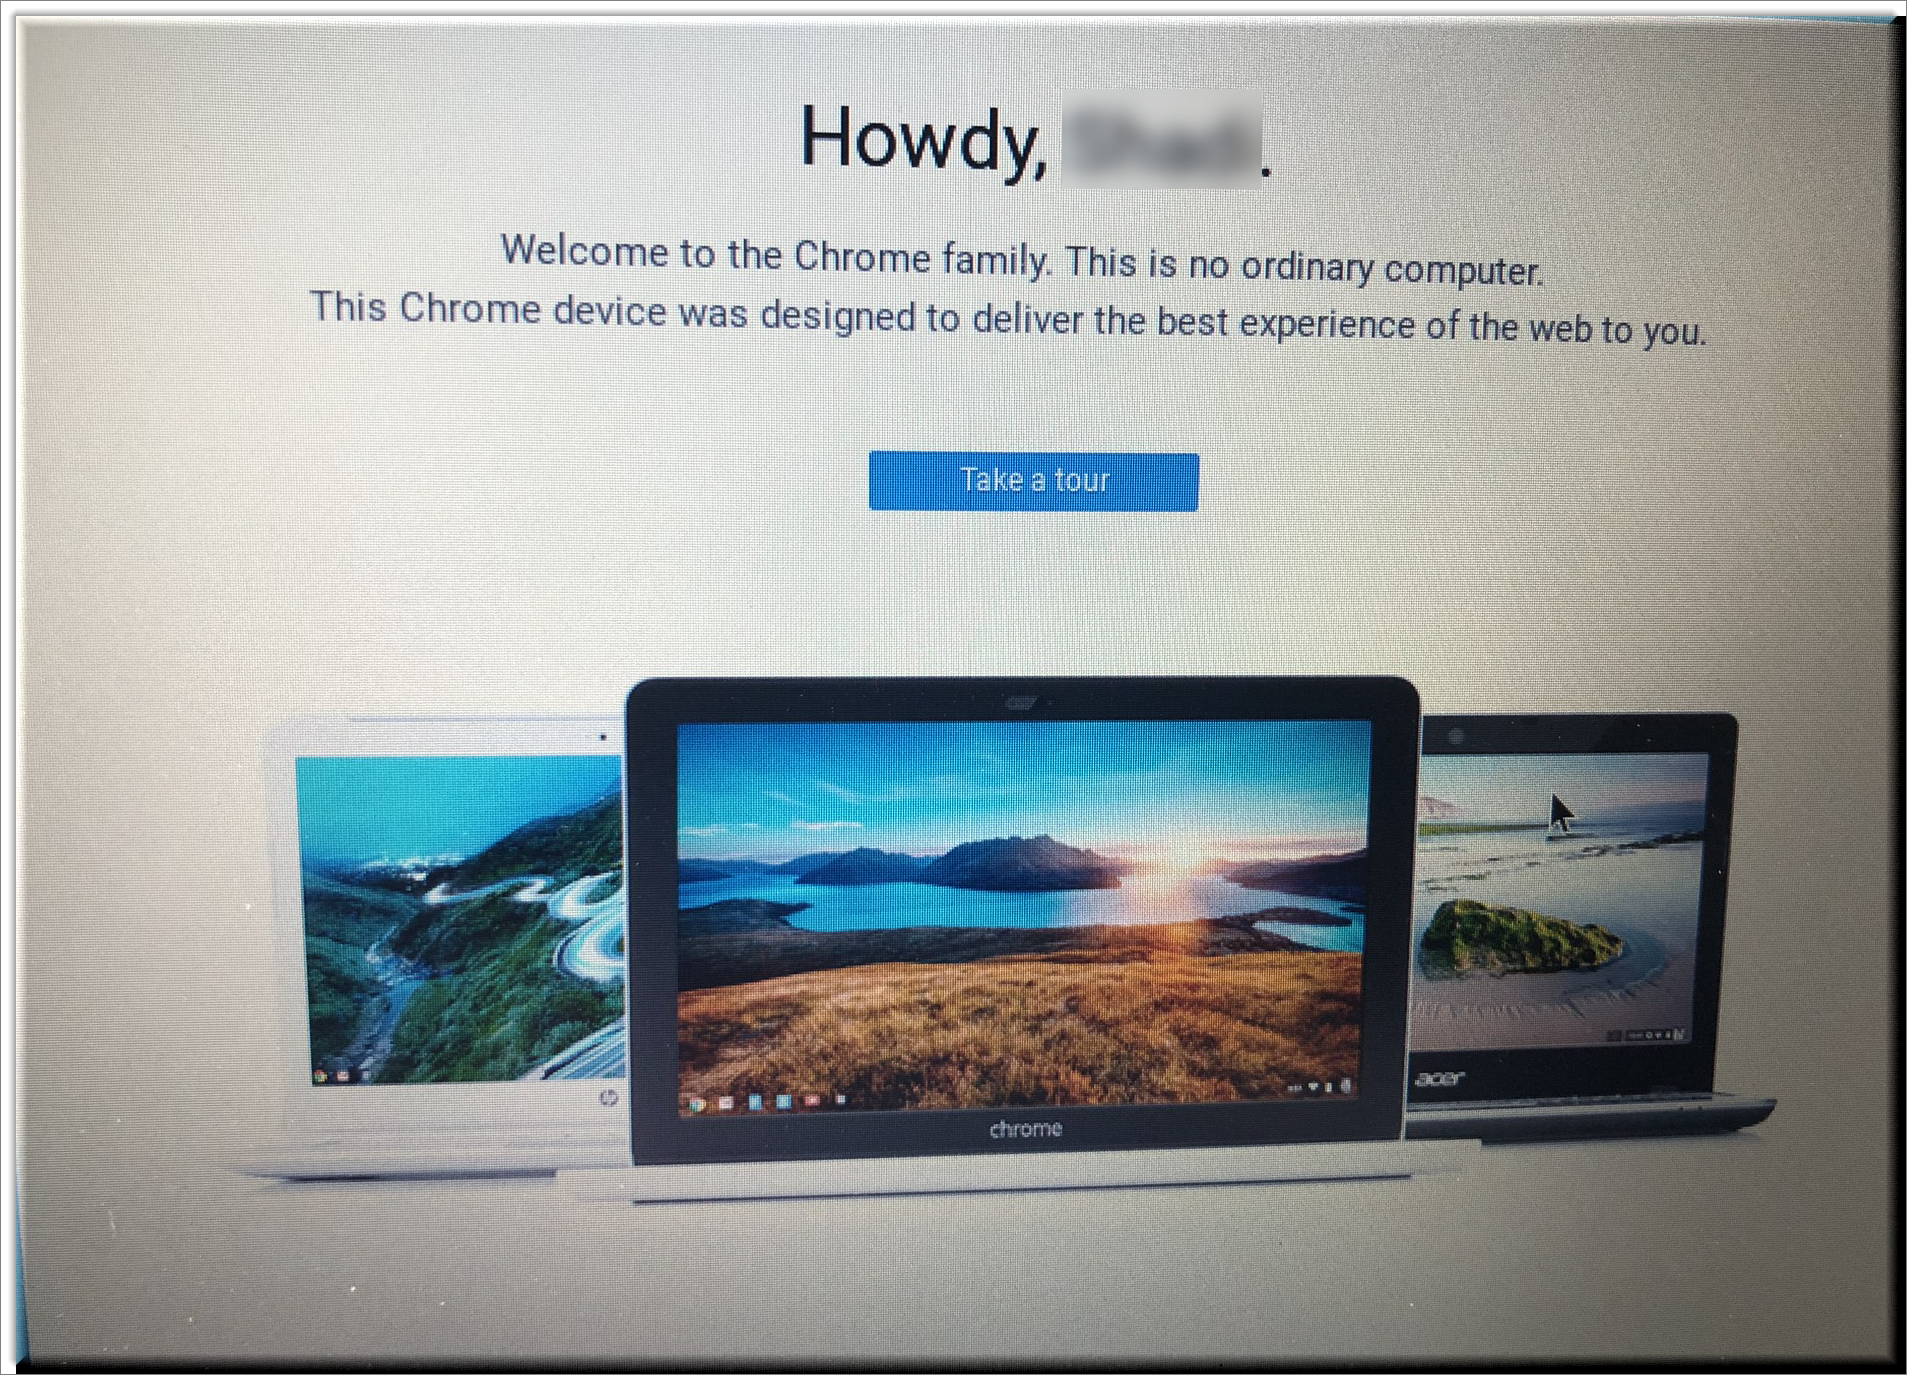
9. You will be taken to a welcome screen. Take a tour if you would like, or press the X at the upper right of the screen to proceed to the desktop.