Sophos Uninstall FAQ's
You can view if you have Sophos installed clicking on the ^ at the bottom right of your desktop, near the time.
See the icons outlined in red in the screenshot below:
See more detailed instructions below:
1. Click on the start menu and select the “Settings” icon.
2. Click on the start menu and select the “Settings” icon.
3. Click on “Apps” on the settings page.
4. If “Apps & Features” isn’t selected on the left, please select it.
5. Scroll down in the list of Apps until you find “Sophos Endpoint Agent”
6. Click on it and then click “Uninstall”

7. Click “Uninstall” on the small pop-up that appears.

8. Click “Yes” on the verification pop up.
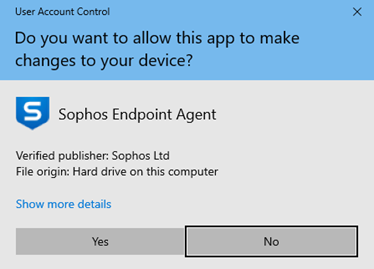
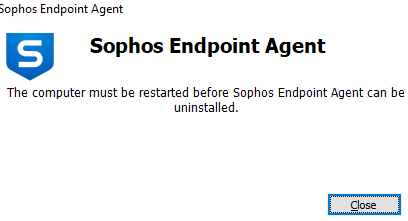
9. If you see this error message, click close and restart your computer and try again from step 1.
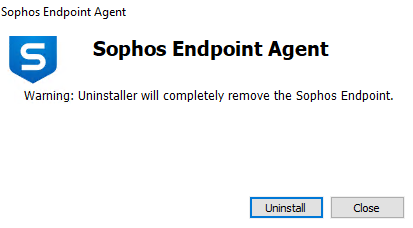
10. Click “Uninstall” on the Warning page.
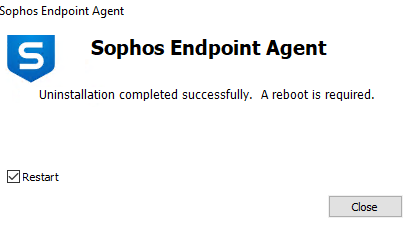
11. Wait for the uninstall to complete.
12. Make sure “Restart” is checked and click “Close”
13. Allow the computer to restart.
If this occurs, it means you do not have administrative rights on your machine. Please try this alternative method:
- Save any documents you have open, as your computer will be rebooted as part of this process.
- If you are off campus, please connect to the VPN. If you do not have VPN installed yet, please see instructions here: VPN Download Windows/PC (wichita.edu)
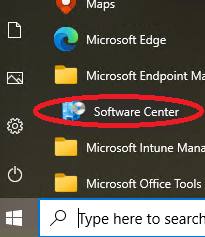
- Open up “Software Center” by clicking on the start menu, selecting the “Microsoft Endpoint Manager” Folder and
then clicking on “Software Center”
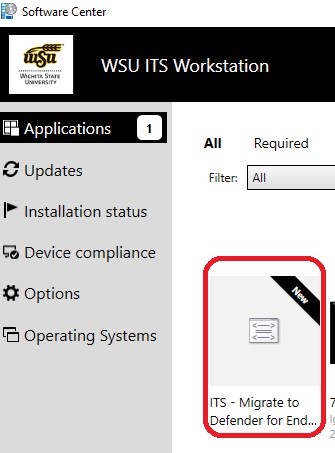
- Click on “ITS – Migrate to Defender for Endpoint” in Software Center.
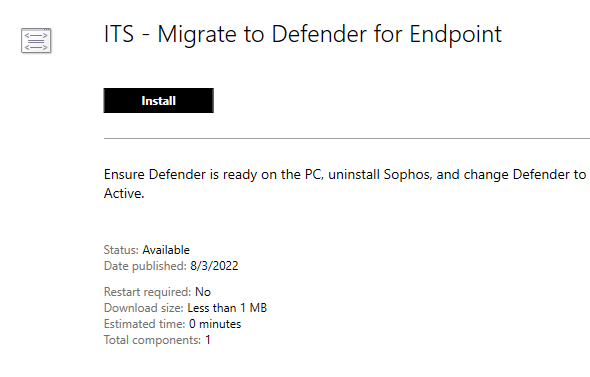
- Click on the "Install" button.
- This following bar will appear.

- Wait for this process to complete. When it has completed, you will see this box:
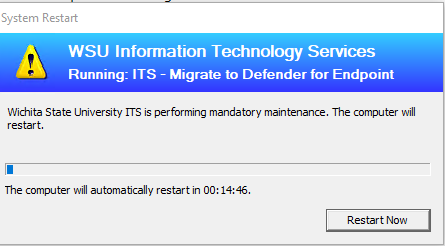
- Click “Restart Now” to reboot your machine to complete the process.
Please create a ticket for assistance at http://www.wichita.edu/desktoptickets or call the helpdesk at (316) 978-4357.


